Growing Vegetable Seedlings For Profit – A Homestead Income Stream
Homesteaders are always looking for new income streams that will allow them to reach a self-sustaining lifestyle that defines homesteading. If that is you, consider raising vegetable seedlings as an additional income source. Anyone can successfully grow their own seedlings without a large investment.
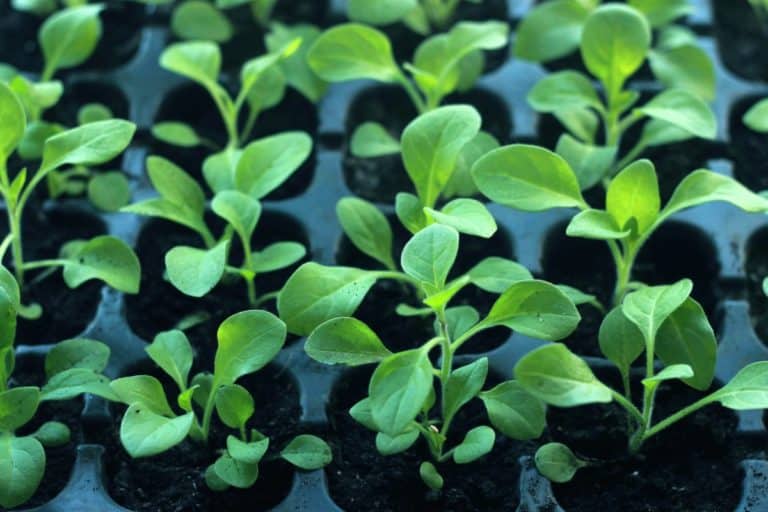
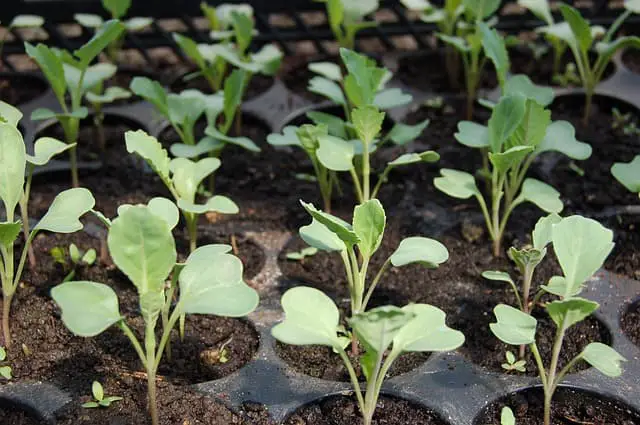
Most seeds need three things to germinate: Warmth, Moisture, and Oxygen. Vegetable seedlings are typically germinated in a warm indoor environment and then are moved to a light source for growth. The finished seedlings will be ready for sale around six weeks from the day they were started.
You may only want to grow seedlings for your own consumption (in your own garden), but growing vegetable seedlings for sale can be a very lucrative business. The process is so simple, making it perfect for a home-based business. There is always enormous demand for quality vegetable seedlings, and you can capitalize on that.
Check Your State Regulations
Having researched regulations, it seems that there are few if any states that require a license to sell vegetable seedlings. Several states require a license for ornamentals, but not plants that have an edible product such as vegetables.
So, your first job would be to make sure that growing vegetable seedlings for sale is permitted in your state. It could be that they require a resale license, or a tax number, or something similar to that. But I would think if you are on a small scale you would not have to bother with that. However, you need to check with your state regulations to be sure.
Resources For Your Seeds
The sheer number of seed companies that offer vegetable seed is overwhelming. That makes it pretty hard to choose where you will be buying your seats from. In the past, I have bought my seeds from many different sources. A large part of your decision will be whether an organic seed source is important to you. If so, there are many seed companies that specialize in seeds that are certified organic.

Also, you need to decide if you want to grow vegetables that are “heirloom” vegetables or those that have been “hybridized”. Don’t let the word “hybrid” deter you from raising them. “Hybrid” does not necessarily mean it’s GMO. A GMO (Genetically Modified Organism) plant, or seed, is one that has had it’s DNA altered or modified through genetic engineering. This can alter many of its characteristics.
A hybrid plant is one that through successive breeding programs has had traits of one or more plants melded together to form a new species. This has been going on for centuries. In fact, it happens in nature constantly.
For instance, when one purebred dog is bred to another purebred dog of another breed, the subsequent offspring would be a hybrid. For example, a Labradoodle is a cross between a Labrador and a Poodle.
The same thing happens in nature. One species pollinates another species and the seed from that breeding program (whether in nature or in a laboratory) is a hybrid. Usually, in vegetables, a hybrid is designed to have a more uniform shape or color and perhaps a thicker skin which would make it a better vegetable to be shipped across the country.
Just understand that the market for hybrids is probably much greater than the market for heirloom vegetables. Hybrid vegetables have disease-resistant qualities bred into them that quite honestly makes them easier to raise, and less subject to disease and funguses.
But, that hybridization usually comes at a price. Heirloom varieties (also called “open-pollinated”) usually are much more flavorful, but harder to grow. That’s why in my opinion raising hybrid plants would be more profitable because (again, in my opinion) I think they would be more sought-after than an heirloom plant.
There are those that want heirloom vegetables for their taste quality and because the seed can be saved for next season, but many gardeners choose hybrids because they do not want to battle diseases when it’s not necessary to do so. Growing Hybrid plants usually lessens the chance of disease.
Lately, I have been getting all my seeds from Hoss Tools, and I will be talking about them in more detail when I discuss some of the equipment needed, but quality seeds can be found in a multitude of places.
Seed companies like Burpee, Johnny’s Seeds, Park Seed, Eden Brothers, Territorial Seeds, and Wilhite Seeds are just a few. You will just need to determine whether you are going to grow heirlooms, hybrids, or a mixture of the two.
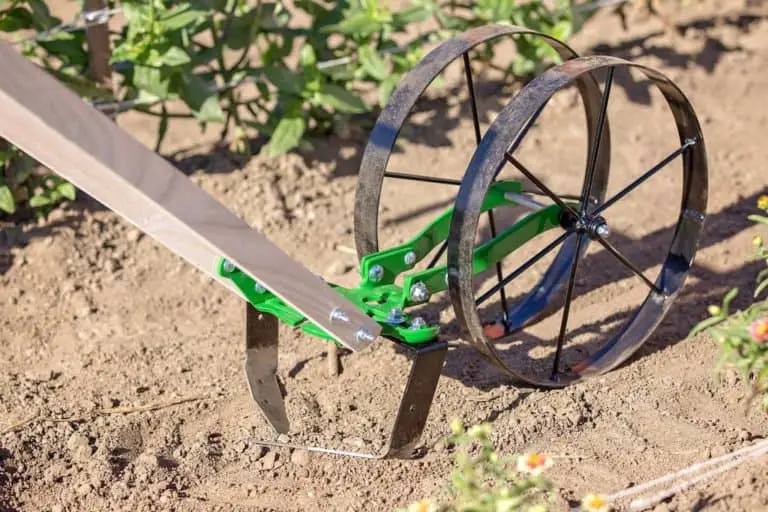
Equipment Needed
Once you have chosen your seed company (or companies), it’s time to procure the equipment you will need. It really doesn’t take a lot of equipment to start a lot of seeds. Usually, you will start seeds in six-pack containers or perhaps a larger capacity seed tray.
Buyers are usually looking for six-packs, but it’s becoming more fashionable (and more profitable) to sell plants that are in larger containers, and are larger in size.
A larger sized container (like a 4-inch pot) gives the buyer a head start on the growing season because the plant is usually larger and therefore more mature. Many nurseries are even going to a 6-inch pot with a very mature plant in it.
If you have gone to the big box stores in the spring you will notice that many of them sell a 4 or 6-inch potted vegetable plant. In fact, sometimes it’s hard to find the smaller six-packs of vegetables because all the retailers seem to be going the route of the larger container. I’m sure this is because there is more profit in selling a plant that is in a larger container.
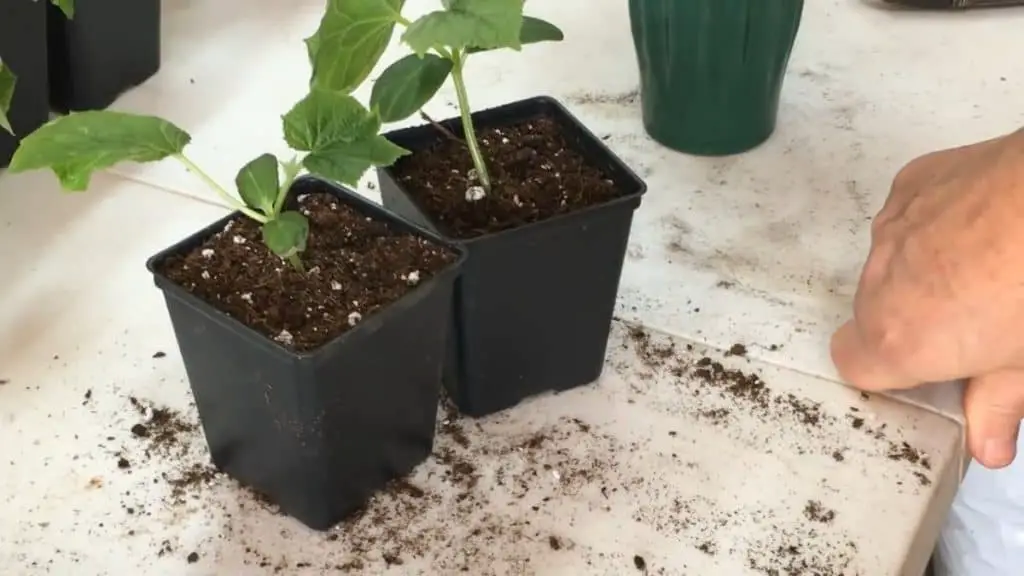
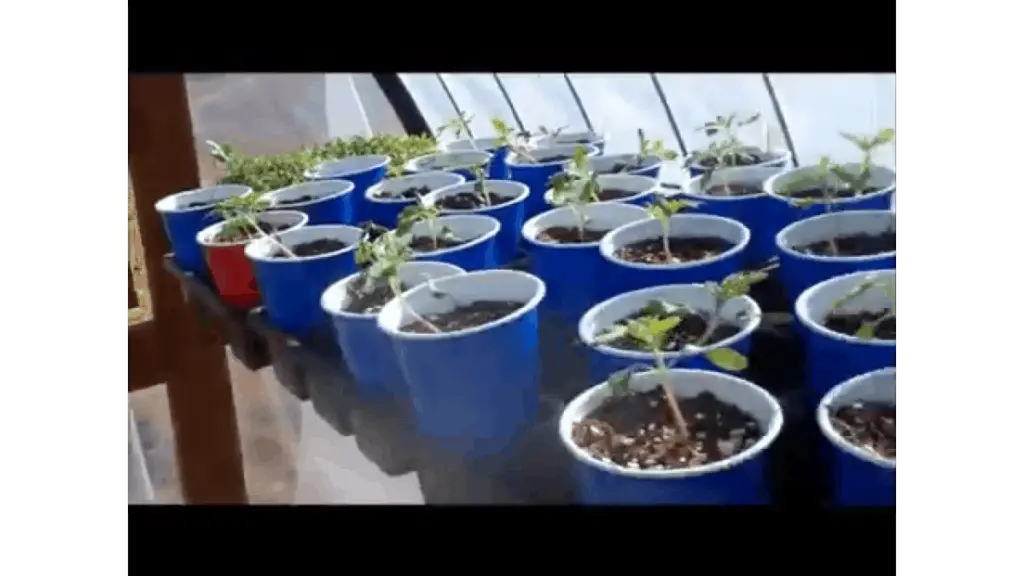
For that reason, I would recommend that you have several containers for the buyer to choose from. Have 6-packs, 4” pots and perhaps some “solo cups” with plants in them.
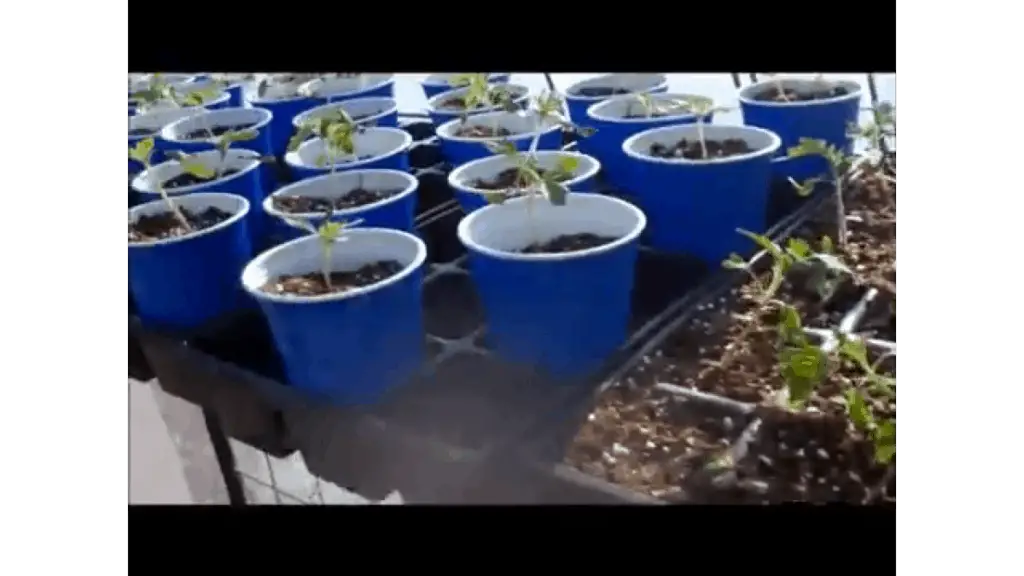
A solo cup is large enough for the plant to develop a good root system and grow a lot larger than it will in a 6-pack. Usually, a 6-pack is only a tray of six 1-inch cells. Some of the larger ones might be 1 ½”, but are still pretty small.
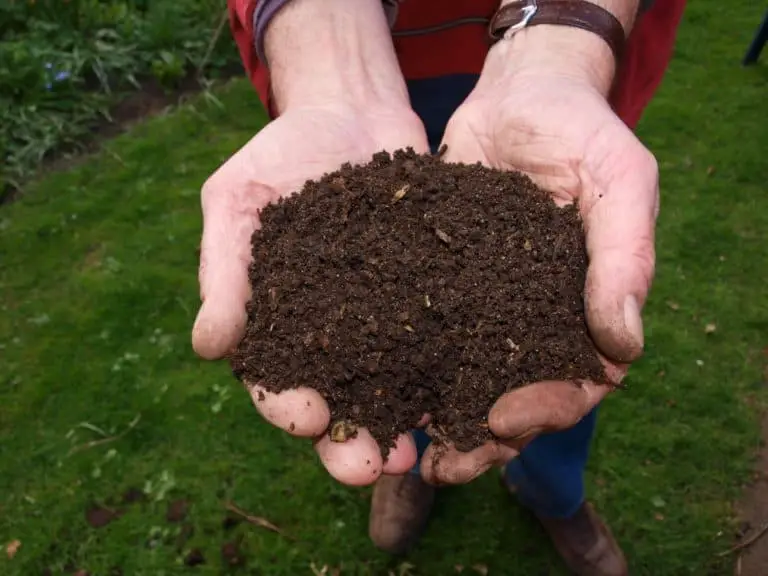
Choosing The Right Potting Medium
There are many different mixes that will do just fine, but a mix that is designed for starting seed might give you an edge. I have started a lot of seeds using a generic potting mix that I got at my local nursery, and have had a lot of success.
So, you might want to try the less expensive potting mix instead of a “seed-starting mix”. A seed starting mix is just sifted a lot finer and doesn’t have any large sticks or pieces of bark in it. So, if your budget allows it, pick a mix that is light and fluffy and doesn’t contain a lot of foreign matter.
I have to admit, a “seed-starting” mix does do a better job, but if the initial cost is important, I would suggest you just use a good potting mix. Miracle Grow is a well-known company in the gardening world, and they sell a good potting mix or check with your local big box stores.
As I said before, HOSS Tools is a great resource for anything that has to do with gardening. Go to this link and look under Garden Tools and Seed Starting Supplies, or you can click the HOSS banner on the right sidebar. They have seed starting kits that have everything you’ll need to succeed. I have received many products from HOSS and can recommend them without reservation. They are the best!
Turn Up The Heat
A heat mat will help your germination success rate. I’m not saying you absolutely have to have a heat mat for your seedlings to germinate, but I will say it will probably give you better success. Most vegetable seeds need temperatures of around 70 to 80 degrees for the germination process to take place. If you have a warm room or warm place (like next to a wood stove or on top of a refrigerator) you might not need a heat mat.
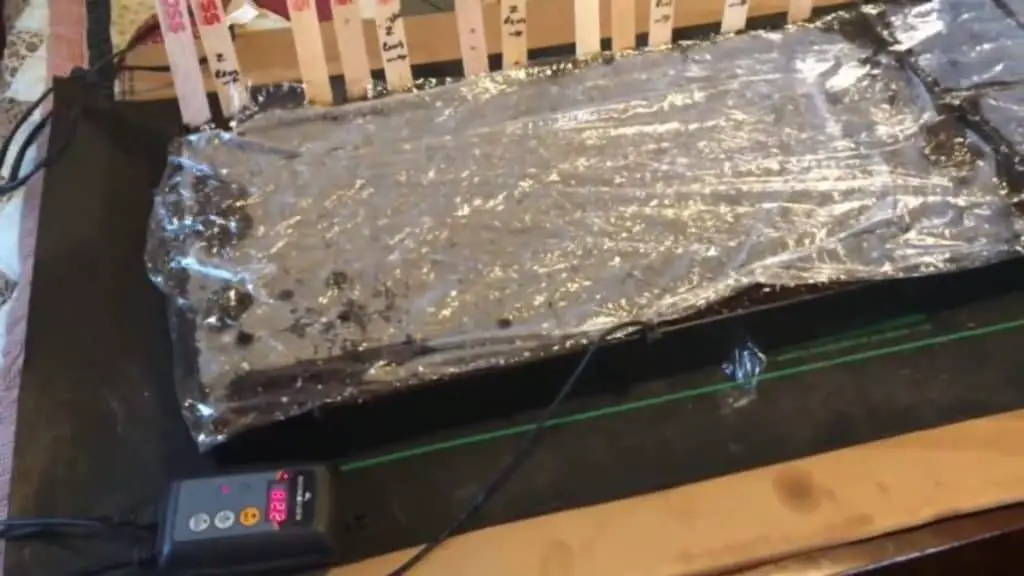
But again, if you are trying to get as many viable plants to be able to sell, then give a heat mat some consideration. Here is a heat mat at Amazon like I use. I’ve had it for many years and it has worked flawlessly.
So whether you use a heat mat or not, you will need a warm place for your seeds to germinate. Again, they will need soil temperatures of between 70 and 80 degrees F to germinate.
When To Start Your Seedlings
First of all, make sure your seedlings will reach your targeted clientele at the right time. You’ll need to plant your seeds about 6 weeks before the last frost in your Climate Zone. So, find out the “average last frost date” for your location and move your seed starting date back 6 weeks to make sure your seedlings are ready when the gardening season comes to your location.
There are a lot of gardeners that try to get a jump on Mother Nature by planting their gardens earlier than the average date. Those folks will want plants that are available earlier, so you might capitalize on the demand by planting a week or 2 earlier than normal.
Remember, the “average last frost date” is just that… an average. It can be off by a week or two on either side of that date. A good entrepreneur will make sure his product is available when the demand is available.
How to Plant
Place your potting mix into the cups where you will be planting the seeds. Tamp it down so there are no airgaps in the mix-filled cup. The potting mix (or seed-starting mix) should be damp. Not soggy, but fairly wet.
Seeds should be planted at the correct depth. How is that figured? Well, if the seed is very small, it should only have a light dusting of seed mix scattered over them. If they are larger seeds like melon seeds, you can plant them a little deeper. A good rule of thumb is to plant the seed about as deep as the seed is wide. So, bigger seeds will be planted deeper than smaller seeds.
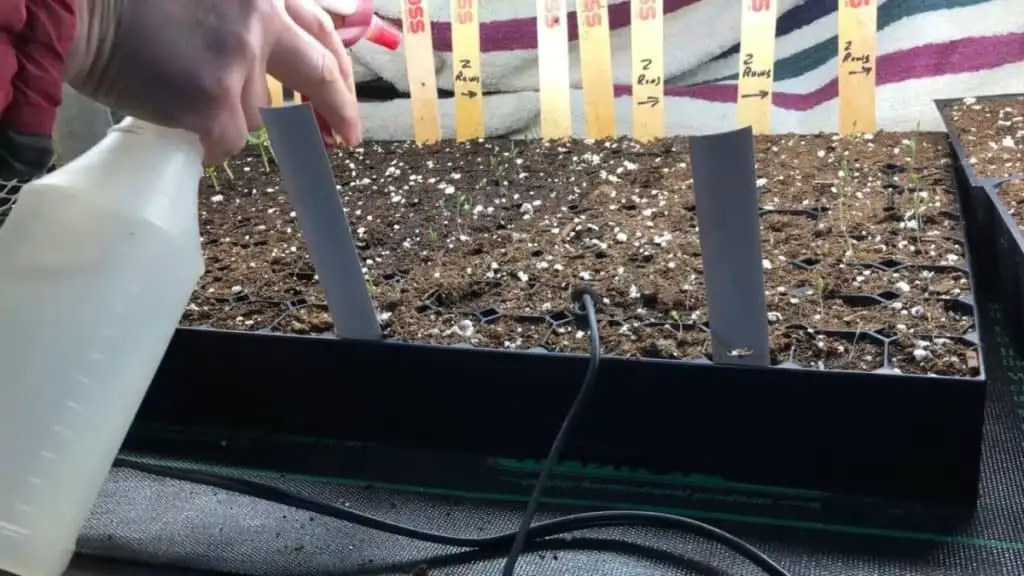
You can’t let your seed tray get dry. You must maintain the moisture level in your potting mix. I like to mist them daily with a hand-held spray bottle. Do not let them dry out.
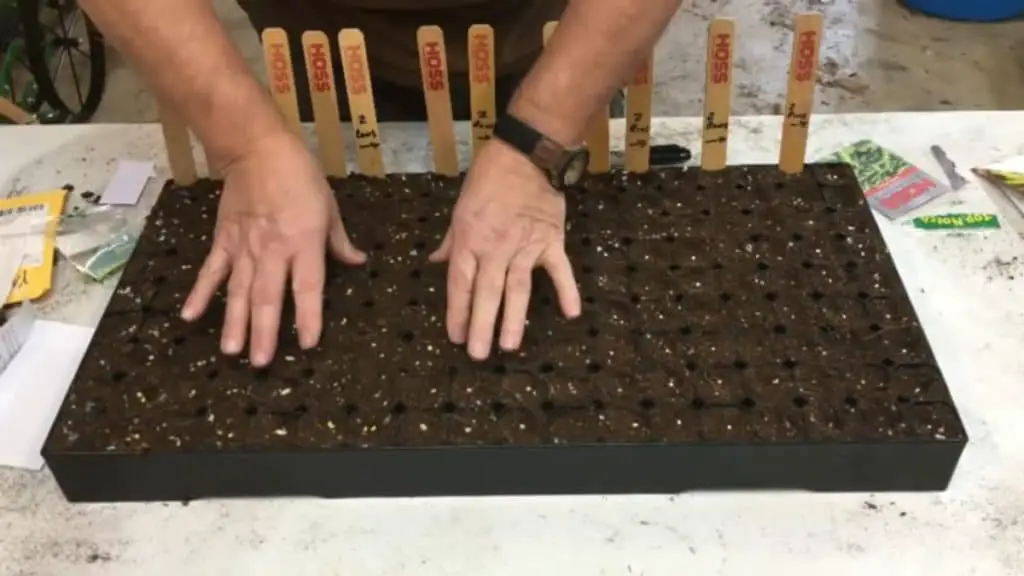
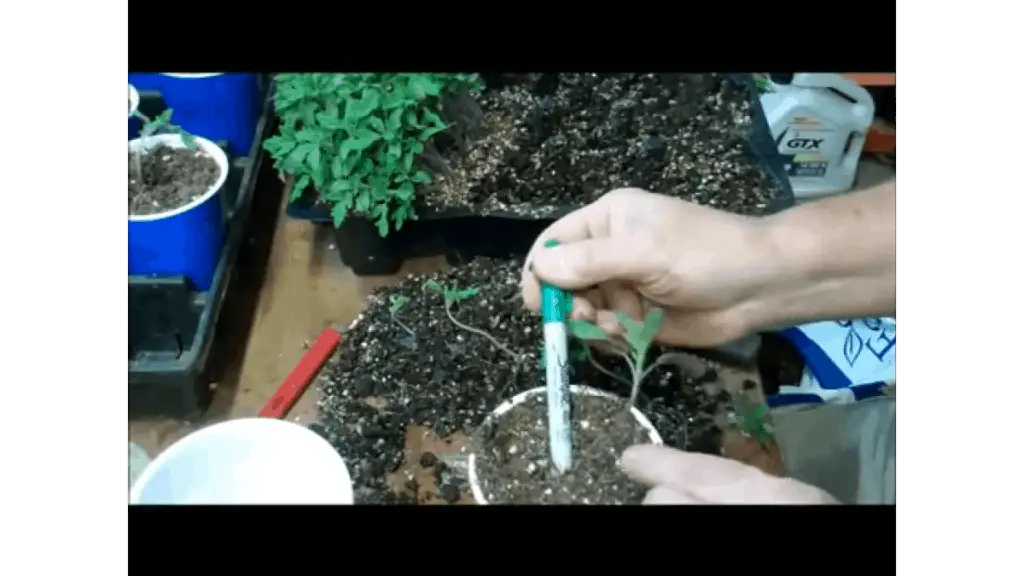
Label your seed trays. Don’t trust your memory. Label them as you plant them. Mark them with a paint pen if you have one. Marks-A-Lot ink can fade over time, so a paint pen is better. You need to keep the labels intact and legible throughout the growing process till the customer buys it.
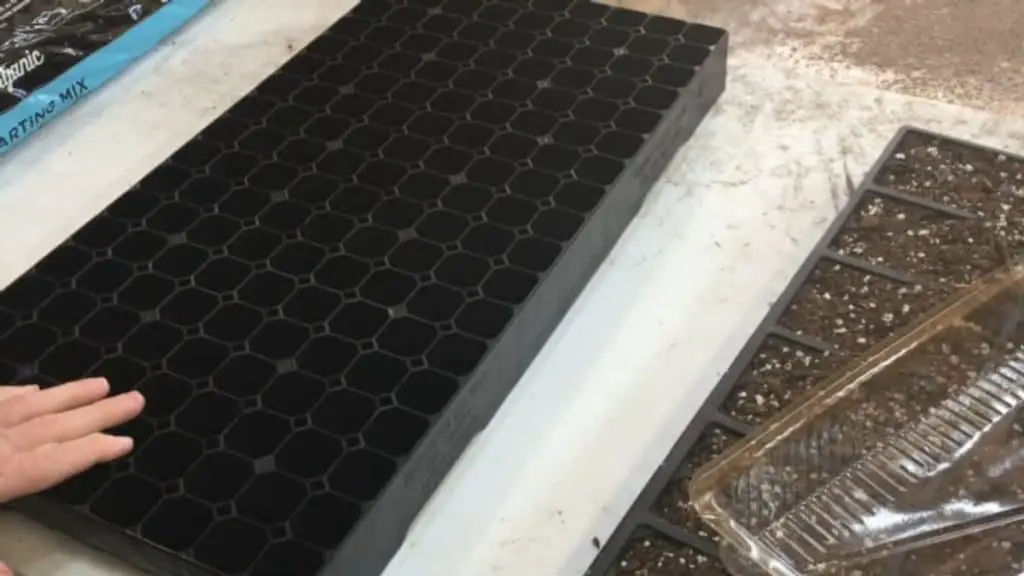
HOSS Tools sells a Seed Starting Tray that has 162 cells in it! I think that’s the largest I have ever seen. It’s almost like planting the bulk method, except in this tray the seedlings retain their autonomy because they are each in an individual cell. The tray is made from very durable hard plastic and I think it should last for many years.
The cells are small, so some larger seedling varieties would benefit from transplanting in a larger pot to gain size and root system before being planted in the garden. If it were me, I would transplant Tomatoes and Peppers from the HOSS cells to a 4” pot or Solo cup when it was time to go to the greenhouse. Again, check out the HOSS banner on the right to see their seed starting supplies.
Alternate Planting Method: Let me tell you about a method that I have used many times to germinate a lot of plants in a small space. I call it the “bulk method”.
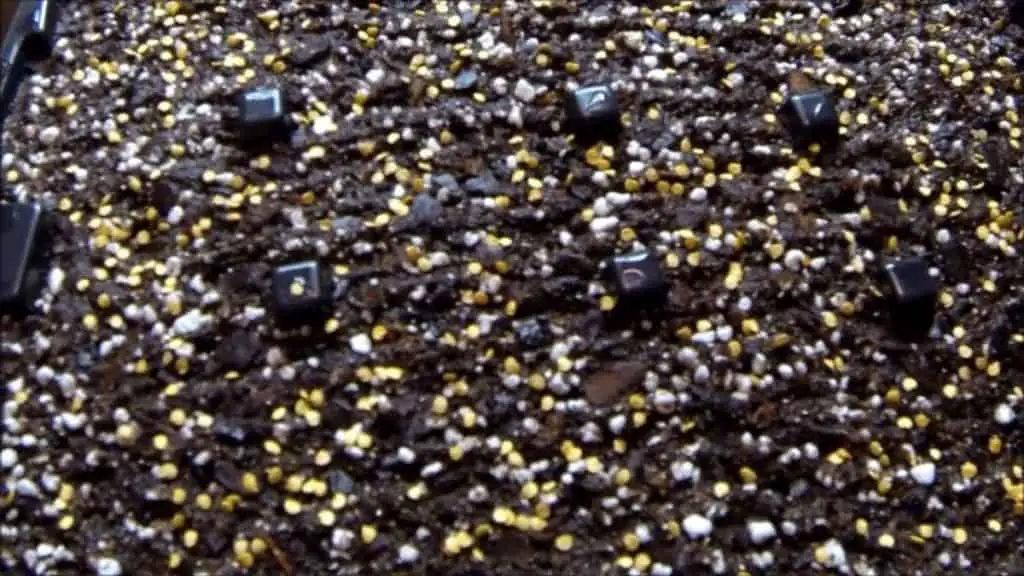
Using this method, you will put your potting soil in a container a couple of inches deep or so (similar to a cake pan). I like to scatter the seed very thickly (like poppy seeds on a loaf of bread) on top of the potting soil, then cover with a dusting of potting mix, perlite, or vermiculite.
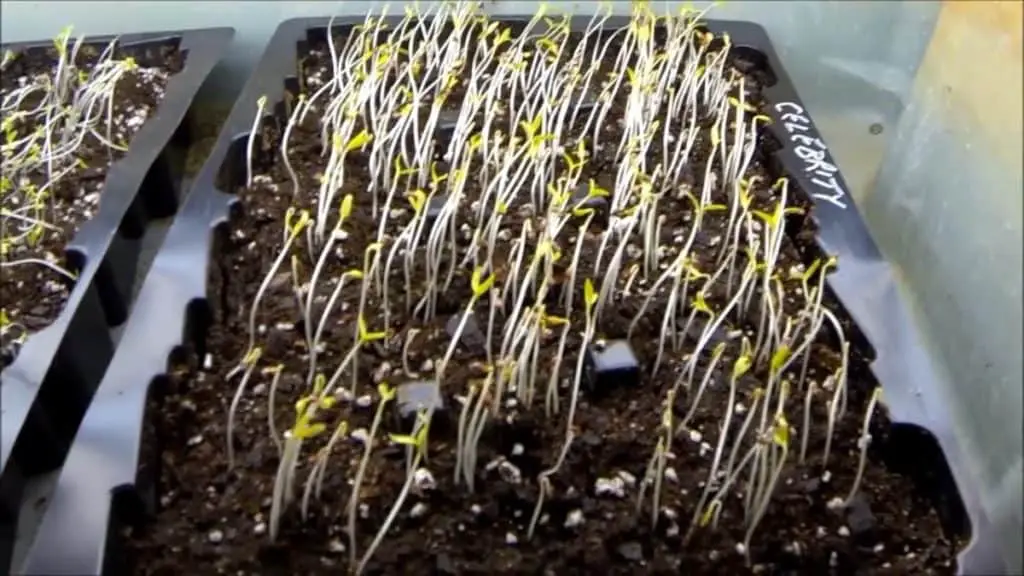
When the Bulk Planted seedlings germinate, they will come up in a thick mass. Yes, the roots will all be intertwined, but they can be easily separated later. Then later, when they are 4-5″ tall, you just separate the plants into individual pots or six-packs. I’ve planted thousands of seedlings using the Bulk Method, and it works great.
Here’s my video showing the bulk method:
The Bulk Method is the best way if you want to germinate hundreds of seedlings at one time. If you are only planting a few seeds or even a few dozen, you may not want to use the bulk method. However, if you are planning to get an income from this, you’ll want to plant a lot of seedlings that you can sell, and the bulk method will probably be best for you.
It’s a little more labor-intensive because you will have to separate all of those seedlings into individual cups are pots in a few weeks, when they get to be 4 or 5 in tall. For me, that’s a small price to pay to be able to germinate a huge amount of seeds in a small amount of space on a small heat mat.
So, I encourage you to try the bulk planting method if you are going to be starting a lot of seedlings. Don’t be worried about separating them later and transplanting them into pots. They are very resilient and you’ll find that you will damage very few of them. I’ve written another article discussing indoor seed starting. Check it out.
If you are raising seedlings for sale, the bulk method is for you. You will find that you can raise hundreds and hundreds of seedlings in the bulk trays, keeping in mind you will have to separate each one of them into a separate pot or cup.
At this point, I like to lightly cover my seed tray with plastic wrap. It will hold the level of moisture in the potting mix a lot better than if you don’t use it. Don’t make it tight-fitting, just lay it on top of the grow tray. As soon as you see any germination, remove it. You don’t want your new seedlings to have to push against it as they struggle to emerge.
On To The Grow Lights
When the seeds germinate, specifically, when about 75% of the seeds you planted have germinated, you must get them under grow lights. Don’t expect to put them by a window sill and have them turn into viable plants. No matter how much sunshine that window location gets, it won’t be enough to raise healthy plants for sale.
You must have a grow light setup. It doesn’t have to be a huge expensive setup, but the new seedlings will have to be under grow lights for a few weeks. This is another reason to use the bulk method when planting a large number of seeds. Because the seedlings are contained in a small tray, you will only need a small set of grow lights to cover them with light.
If you have planted in six-packs or individual pots, you’re going to need a larger grow light setup for the seedlings to be covered with direct light. You will have to situate the grow lights so they are just an inch or so above the germinated seedlings.
Don’t have the grow light several inches from the seedlings, they need to be very, very close to the light. There are some very inexpensive grow light setups available here on Amazon.
I would recommend an LED light setup because the energy that is used is just a fraction of the energy used by a fluorescent bulb. You also must make sure the light emitted is a full spectrum light. A regular light bulb, even a bright fluorescent light does not put out the correct color to raise good seedlings. Here’s an LED grow light at Amazon that should work well for you.
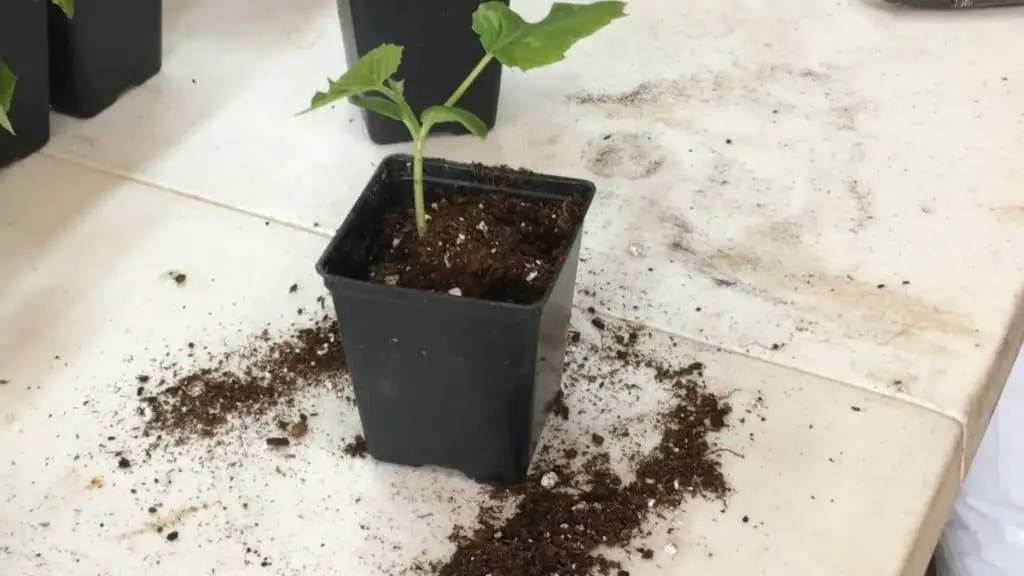
Transplanting The Seedlings
If you did not use the bulk method to start your seeds, then you can skip this step, because each one of your seeds was planted in an individual cup, or in the individual cell of a six-pack. That is where they will stay until they are sold to your customers.
If you did plant in the bulk method you will need to separate the tiny seedlings when they get 3 to 5 in tall. I like to wait to till they are around 5-inches tall. By that time they have a pretty good root system.
It sounds a little labor-intensive to have to separate the plants a few weeks into this, but it really doesn’t take long. Just pull up a chair and you will find that it goes very quickly. and afterward, you will have a multitude of plants ready to go to the Greenhouse.
To separate the seedlings in the bulk method, don’t just pull them up out of their tray. I usually go in with a fork underneath the seedlings, scoop out a section of potting soil filled with seedlings that is my maybe two or three inches square. After I remove the block of seedlings from the tray I will begin carefully and methodically separating them.
The Roots will be intertwined, but they will separate very readily. You will find that you ruin very few plants like this. The only thing you really need to be careful of is the stem of the plant. If you bend and break that stem, the plant is not viable, it’s done. So don’t even bother transplanting that one. But don’t be afraid of that. You will break a few, but it will be very few I’m sure. These little seedlings are a lot tougher than they look.
More Light
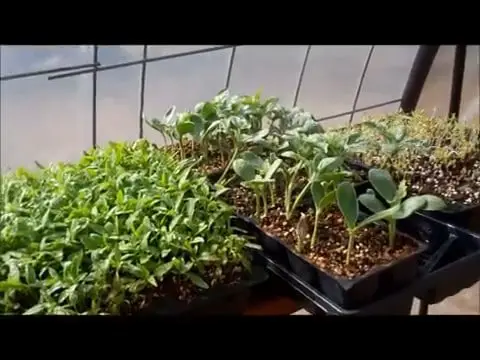
Now that you’ve got your seedlings up to 4 or 5 in tall, they are just about to outgrow your grow light setup, so the next step is to give them natural light. Direct sunlight is always better than natural light. This means they need to be outdoors receiving natural sunlight unless you are in a climate that is extremely cloudy at this particular time. Usually, this means they need to be in a greenhouse.
Many years ago people used “cold frames” to help their seedlings catch natural light, and some still use those. I tried to use a cold frame a long time ago but was never very successful, and usually, a cold frame is a very small structure. If you are in this for an income stream you need a larger structure because you have a lot more plants.
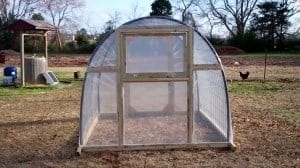
The Greenhouse. A greenhouse is a covered structure that catches sunlight and retains heat. If you only had a few plants to move outside, you could build a small plastic-covered hoop house with a clear shower curtain. That would work fine for a few plants, but if you are going into this for an income stream, you probably have a lot of plants.
I have a way to build an inexpensive Greenhouse that can allow you to raise hundreds of plants, yet it is very affordable. It only costs about $150 to build, but it’s large enough that I have raised over 2,000 plants in it at one given time. And, it is expandable. Mine was 7’ X 8′ but many others have used the plans to make much longer greenhouses. Check out my greenhouse on The Greenhouse Page of this website.
Whether you build my Greenhouse or buy one already built, your plants do need to be in a greenhouse at this point. By now they are 4 or 5 in tall and they are hungry for sunlight. A greenhouse not only offers sunlight but also Heat. The plastic covering on a greenhouse generates a huge amount of heat, more than you realize, and these plants will love it. It may even get too hot. If so, you’ll need to leave the door open.
I have tried to raise seedlings without the greenhouse and I have raised them with a greenhouse and there is absolutely no comparison. Since you are raising the seedlings to sell to the public, they need to be the very best quality they can possibly be.
You will be competing with some large Plant Growers out there, but you can beat them with your quality. When I use a greenhouse to finish off my plants, my seedlings look better than any you will find at the big box stores.
While in the greenhouse they will need to be watered regularly because as I mentioned before the greenhouse will generate a lot of heat. That heat will dry out the potting mix the seedlings are in.
A good way to kill those seedlings quickly is to let them dry out. For that reason, unless you can water them every day, I suggest a simple misting system set up on a timer that will keep the soil and the tops of the plants moist.
A misting system is easy to build from individual components, or you can buy misting kits like this kit at Amazon.
Here’s a video I made on building a misting system
Fertilization
Up till now, you haven’t fertilized the seedlings. However, they would benefit from some fertilization now. You could use something like Miracle Grow when you water them. They will respond with amazing growth. Inspect your crop of seedlings regularly. If the seedlings start turning a little yellow, they probably do need some fertilization.
The All-Purpose Miracle Grow is a water-soluble fertilizer that has a lot of nitrogen in it. When you are at this stage of growth, they need a little shot of nitrogen found in a complete fertilizer like Miracle Grow.
HOSS Tools also sells a water-soluble fertilizer. You will probably only need to fertilize them once or maybe twice when they are in the greenhouse, but they will really put on some amazing growth from it.
So, at this point, you should have some beautiful seedlings in the greenhouse. You should always monitor the weather conditions because the temperature in the greenhouse shouldn’t be allowed to dip too low. Many greenhouse growers don’t let them fall below 70 degrees F. During the daylight hours, that’s not a problem if you have a lot of sunlight.
As I said before, the sun will heat a greenhouse up considerably if there is direct sunlight, even on a cool day. At night, however, you may need to provide a heat source for the seedlings. In my experience, I only used a heat source if the outside temps were going to fall below 45 degrees F or so.
A small space heater or kerosene heater could work but understand that creating heat can be expensive. Remember, you are trying to make a profit, so use any heat source judiciously to protect your bottom line.
I know folks that put a blanket or two over the plastic of the greenhouse at night. That will keep it a little warmer than it would be without the blanket, but it won’t keep the plants from freezing if the temperature falls to 32F, so be careful. Watch the weather reports carefully.
Finding A Market For Your Seedlings
There are several ways to market your new products. If there are Farmer’s Markets close to you that are open at that early in the spring, take a load of your best seedlings. Also, you can set up a stand outside your home, or run a (free) add on Craigslist.
Make sure everyone at work knows you have plants for sale. Facebook and other Social Media sites are also a great way to let your “social circle” know you have started a side business and have veggie plants for sale.
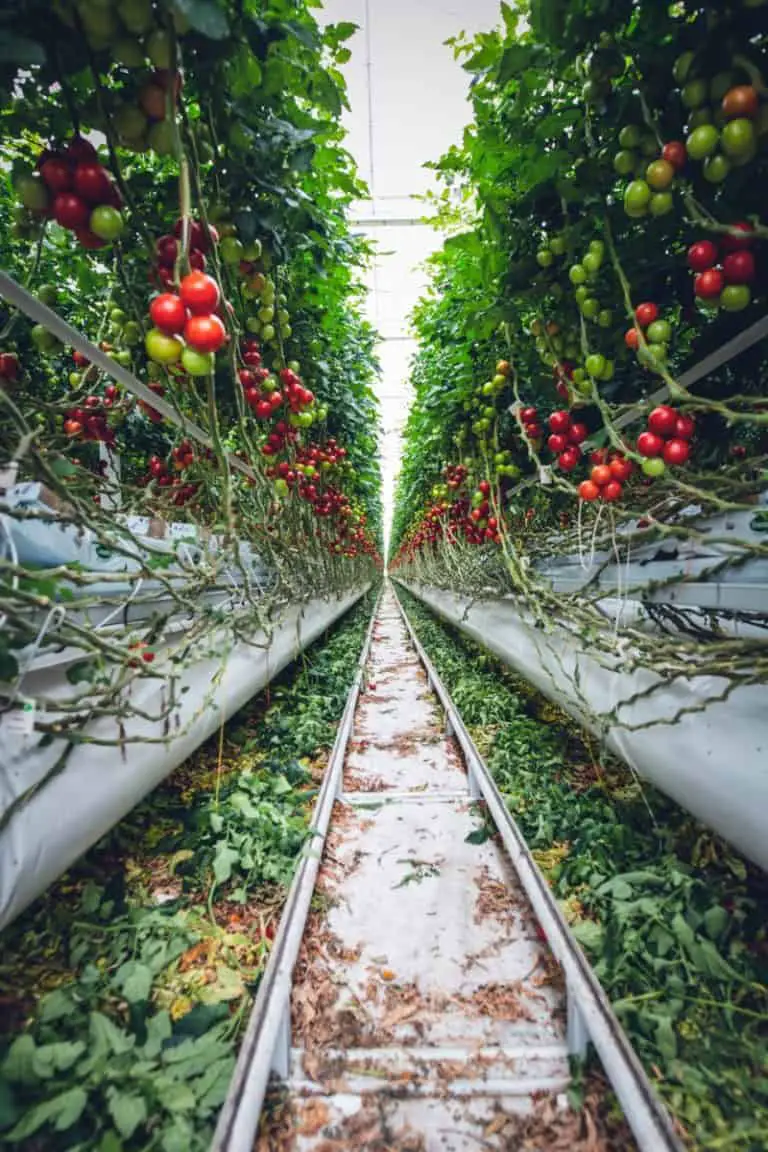
If your seedlings haven’t sold by the time they are beginning to get really big and starting to put on fruit, consider repotting them in larger pots, and selling them as mature fruiting seedlings. Most folks would much rather buy a tomato plant that has some little tomatoes on it than one that does not. Alter your price upwards to reflect the extra labor and potting mix it will take to repot the larger seedling.
The prices you get for your seedlings should be competitive, so go check out the competition. At this point, the big box stores should have a few plants out. Go see what they are charging, and the quality of the plants. If their plants are 2 inches tall, and yours are 6 inches tall, you’ve got the better deal. If that’s the case, charge the same or slightly higher price for your seedlings.
This is where the careful labeling you did when you first started will reward you. Nobody likes to buy a specific variety of tomato only to have it actually be something entirely different when it begins to fruit. You need to keep the labels intact throughout the growing process till the customer buys it. Your reputation is on the line.
Also, consider raising seedlings for a Fall Gardening public. Most seedling growers don’t offer vegetable seedlings for fall gardens. If you are in the south where there is a long growing season, you can capitalize on that by having some seedlings ready for gardeners to plant in July or August.
They will probably need no artificial light source, as you should have plenty of natural sunlight. They also won’t need any heat source since the night temperatures won’t be dipping down.
But be cautious with how many seedlings you germinate for fall gardeners. Fall gardening is not as popular as spring gardening, so your client base won’t be as large. Personally, I think a fall garden can be better than a spring garden, but it hasn’t caught on yet. So, don’t expect to sell as many as you did in the early spring.
Hopefully, the ideas in this article have given you enough information to allow you to become a Vegetable Seedling Professional, and will help you toward your journey of self-sufficiency.
My YouTube Channel has around 800 Videos detailing seed starting, Gardening, Plant Propagation, Backyard Livestock, and many other topics. Check It Out HERE.