Drip Irrigation: The Basics and Beyond

There are many factors, that will determine your need for an irrigation system, including your location, the season, and typical climate conditions. If your location gets adequate annual rainfall, you might not need one. If, however, you are like most folks (who don’t live in Seattle) you’re probably going to need to do some irrigation.
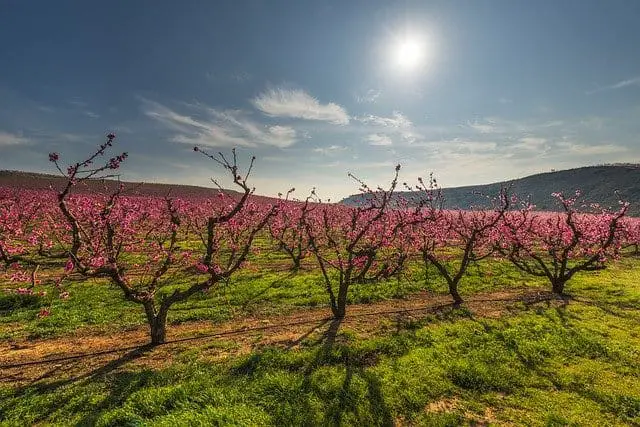
In the spring and fall, during a season of normal rainfall, it is usually not necessary to water fruit and nut trees. Especially if those trees are well-established. However, if the trees are young (a year or two old) they might require some water, even in the spring and fall.
But, don’t let that worry you because irrigation is actually very simple. This article will discuss the basics of irrigation, how to put a system together, what components are in a system, and how to assemble them.
When Do I Irrigate?
As I am writing this blog, it is summertime. In Texas, that means hot weather. In fact, sometimes it means very hot weather. Here in East Texas, it’s not uncommon to go several weeks without any rainfall whatsoever. That’s when a drip irrigation system is most valuable. In fact, it is essential to keep your vegetation alive.
That can be done in several different ways. Drip Irrigation, and above ground Sprinklers Systems are some of the most common, so let’s look at them.

Above Ground Watering
There are applications where Above Ground watering is the best and most cost-effective way to go, but that’s mainly on our lawns. I can’t imagine trying to install an underground drip system on a lawn. That would be very expensive. So, typically most folks put the pipe and sprinkler heads underground.
The sprinkler heads pop-up when pressurized with water. They are out of sight and out of mind when they are not needed, which makes it possible to mow the lawn without damaging them.
That works well for lawns, but might not be the best thing for a garden. Above-ground watering can be wasteful. A lot of the water is evaporated before it even gets to the root system. Again, this is probably the best way to water lawns, but not gardens.
Drip Irrigation
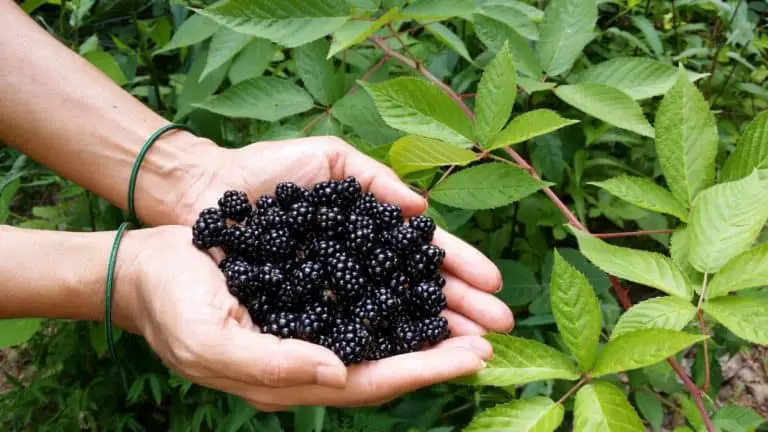
The best way to water gardens, fruit trees, grapes and other vining crops like blackberries, is to use a Drip System. Don’t let that intimidate you. It is so simple that anyone can do it. But there is more than one way to “Drip”. Let me explain.
Below Ground Drip Irrigation
A lot of gardeners are “going underground”. No, they’re not hiding out from the G-Men, they’re laying drip irrigation lines underground. They install it before the seeds or seedlings are planted. It lays underground, unseen, but is there to call on in the hot, dry conditions of summer. This is probably the best way to water vegetables.
The water is applied to the roots where it’s needed the most. You can even install a fertilizer “injector” in the line to give the plants much needed nutrition in the water, directly where they need it… the roots system.
Obviously, this takes planning. It has to be done before you plant, so you’ll need to know the location of your rows, the spacing between the rows, the spacing between the plants, etc. But most gardeners are “planners” anyway. So, that’s usually not a problem.
There are many different varieties of drip lines, and many are designed to be used underground. They won’t last forever, but most will give you several years of service before they need to be replaced. An 8 mil drip tape can be expected to last 2 years. On the other hand, 15 mil drip tape could last 5 years. It’s more expensive, but it may be worth the cost. You’ll have to weigh that out.
You can find the Drip Tape and all your drip irrigation parts at HOSS TOOLS. They even have kits, which makes it easier to put together everything you need, especially for newbies to the irrigation gardening scene. This is where I’ve have been getting equipment for years. They are a family operation, and they really care about their patrons. I can’t recommend them or their products highly enough. Fine folks.
Above Ground Drip Irrigation
I have a confession. So far, all the Drip Irrigation I’ve done is “above ground”. By that, I mean that the tape or pipe that issues the water to the plants is laying on top of the ground. At one time, I had 700 feet of blackberries, 200 feet of grapevines, two dozen or so fruit trees and a large garden to take care of (and keep alive in the Texas summers).
Since I didn’t think my back would hold up to digging that many trenches and laying that much pipe in the ground, I chose to leave it on the surface. You may say “what about the evaporation you talked about earlier?” Well, first of all, you get an A for paying attention. Evaporation in a sprinkler system comes from the misting action you see in most yard applications.
Again, this might be the most cost-efficient way to water a lawn, but some of the droplets are so small (the mist) that the wind can carry them away or the sun can even dry them up before they even reach the ground. But, if the pipe or tubing is laying on top of the ground, and slowly emitting water, gravity is going to pull the water to the soil and the roots. The sun and wind can’t really affect them at all.
The water goes down to the plant’s roots… done.
System Components
Obviously, it’s about getting water from Point A to Point B.
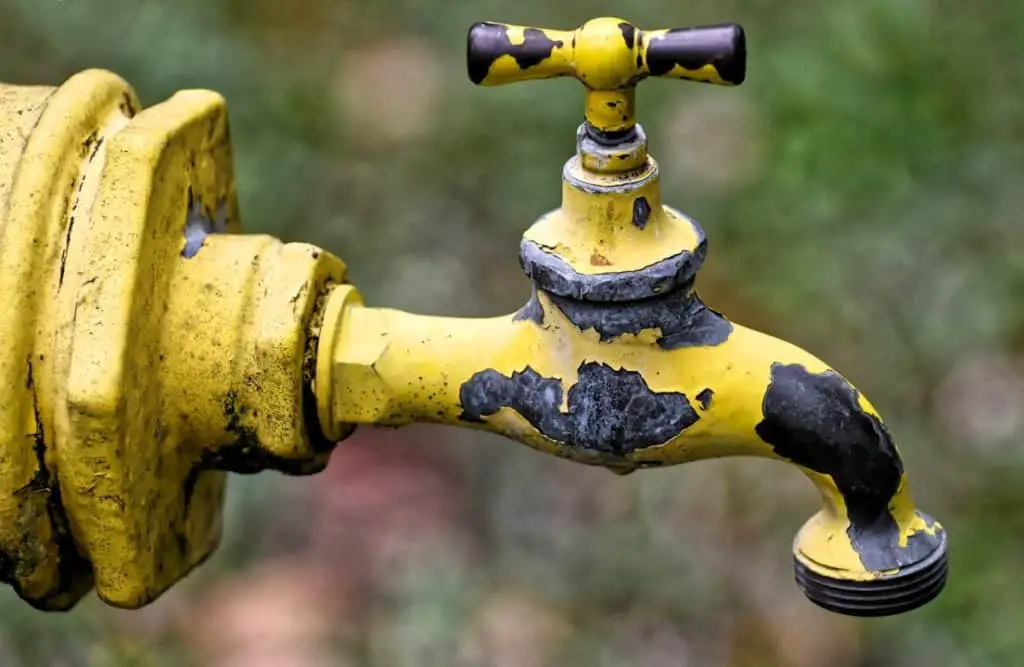
Point A is the water faucet or hose end. Point B is whatever emitter is chosen for the specific task. I would recommend a 1/2″ hose as a “feeder” line. This hose (with an adapter) will hook up to the faucet and travel to the specific plant or tree that needs irrigation.
The adapter has a female “hose bib” on one end and a male compression fitting on the other end.
The adapter has a female “hose bib” on one end and a male compression fitting on the other end.
The compression fitting will fit inside the 1/2“ hose, and a nut on the adapter will tighten down on the tubing forming a water-tight seal. And you can purchase the hosehere at Amazon (my Amazon affiliate link)
Once the Distribution Tubing (or mainline) is attached to the water faucet it’s time to choose a way to transfer the water in the mainline to the various plants that will need it. Some applications will have a “barb” inserted into the mainline. For some applications, there will be an adapter that attaches to the mainline and distributes the water into the drip tape, for trees, you’ll need something entirely different.
For example, row crops in your garden will need a different application than a fruit tree. Your row of peas and corn will need lengths of tape, either below ground or above, that will nourish the entire row. On the other hand, fruit trees will probably only need a single “emitter”.
Most of these emitters will be labeled as to how many gallons per hour (GPH) will flow from their product. I usually choose one that is 1 or 2 gallons per hour. That seems to work well for me, even in the hot summer.
This type of emitter can be inserted directly into the 1/2” mainline. If you want to be able to mow around the orchard without the fear of cutting the mainline, you can bury it, have the emitter attached to a 1/4” smaller feeder line close to the tree, and install the emitter on the end of that.
I know, it might sound complicated, but it’s really not. Again, you’re just moving water from point A to point B. But, if you’re still not really sure what you should buy, the helpful folks at HOSS will be more than happy to help.
When Do I Irrigate?
In the spring, during a season of normal rainfall, it is usually not necessary to water fruit trees. Especially if those fruit trees are well-established. If the fruit trees are young (a year or two old) they might require some water even in the spring.
Your local Ag Extension agents will have literature to help. I usually start watering a week or so after the rain has stopped. Now, when I say “stopped” I don’t mean completely. Sometimes we will get a summer squall that will give some much-needed rain, but not a steady, weekly dose.
After we’ve gone a week, and if it’s getting hot, I’ll start to irrigate in some fashion. Vegetable gardens are like lawns in that you can usually tell at a glance if they need a drink. If it’s summer, and it hasn’t rained in a week… they’re probably begging for a drink.
So, take a look at your situation, your needs, and the types of plants you need to keep alive. You’ll see pretty quick that an “irrigation plan of action” is needed. Start now.
I hope this article has helped you discover that plan and given you the encouragement to implement it. You really can do it. It’s that simple.
I have around 800 videos on my YouTube Channel dealing with irrigation, and just about everything else concerning gardening, homesteading and emergency preparedness.
You can find my YouTube Channel HERE
Your time is valuable. Thanks so much for spending some of it here.

One Comment