
What Is the Best Way To Start Seeds Indoors?
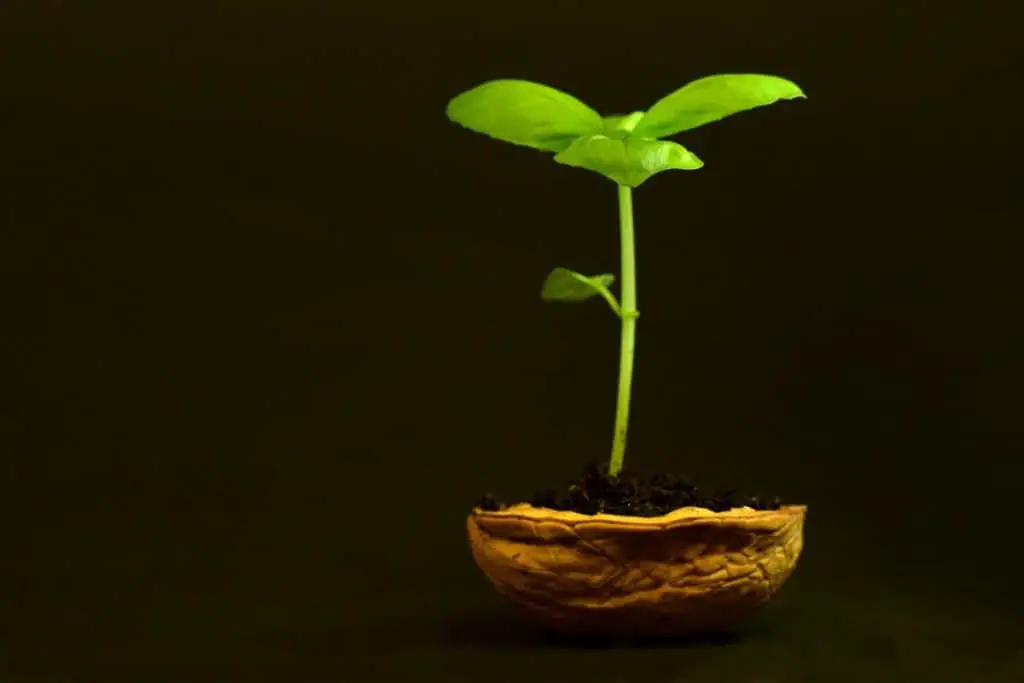
Anyone can stick a seed in some potting mix, but not just anyone can get it to sprout and grow. But you can! If you follow some simple tips, you can be the envy of all your gardening friends, and get off to an amazing start. Starting seedlings is so rewarding. I’ve been doing this for around 40 years, and it still thrills me to see the small seedling start to poke its head up from the soil. It’s just an amazing sight.
There are really only three things that a seedling needs to grow: Heat, Light, and Moisture. Be mindful of that. All garden seeds, whether flower, fruit, or vegetable, must have those three things in order to grow into healthy seedlings. First, let’s look at all the variables.
Timing Is Everything
If we’re going to have anything to put in the ground at the correct planting time, we’ve got to get the seeds started around six weeks before they are to be transplanted in the garden. When is that? Well, of course, it depends on where you live. If you are in the southern part of the U.S. you need to be starting tomatoes, peppers, watermelon, squash… basically all the warm weather crops in late February.
It takes the plants 6 to 8 weeks to get to the point where you can plant them outside in the garden. So, if you do the math that would be late February in the southern U.S. Find out when the “last frost date” in the spring is, in your area, and start your seeds around six weeks prior to that.
Even if you’ve never started any types of plants from seed, that’s OK. It’s not hard, but there area few things that you have to remember to make sure you are truly “starting” the seeds… and not just giving them a decent burial. I’ve been starting seed for a long time.
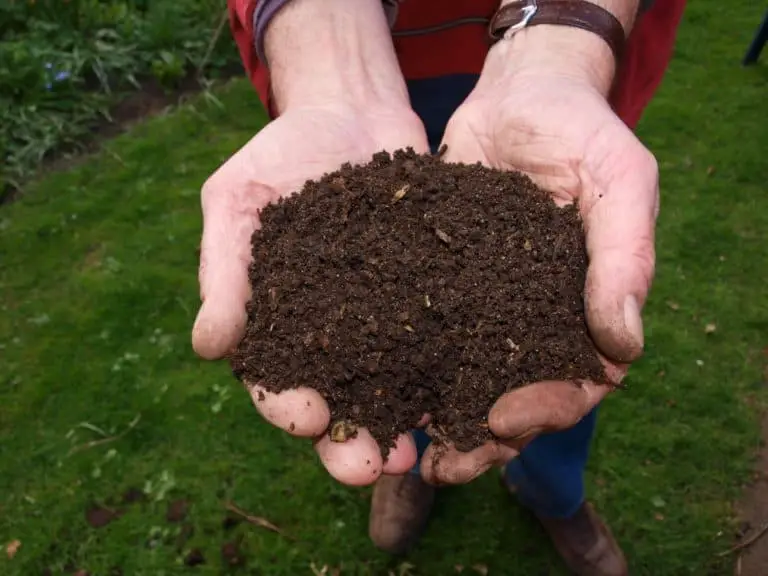
The first time, I failed miserably. I just figured since I built a Greenhouse, all I had to do was plant some seeds, place the cups in the greenhouse, walk off, and voila… supper. Well, as you might expect, they died. Most of them did, anyway. I didn’t realize that the seed I was planting needed warmth, not just light and dirt. Speaking of dirt, don’t use your garden soil to start your seeds. Always start with a good “potting mix“.
Notice I said potting “mix” not potting “soil”. You can find lots of choices at the local Big Box stores, but the best ones will likely not be there. One great brand is Espoma (my Amazon affiliate link). It’s organic, and it’s inexpensive. There are many seasoned gardeners that swear by it.

HOSS TOOLS has a great potting mix too (Pro-Mix). I’ve used it with very good success, and recommend it highly. HOSS has everything you’ll need for a successful garden. They have a vast collection of seeds, and all the equipment, you’ll need to produce your own food. Equipment that will literally last for generations. HOSS TOOLS can be found HERE
Planting Depth Is Critical
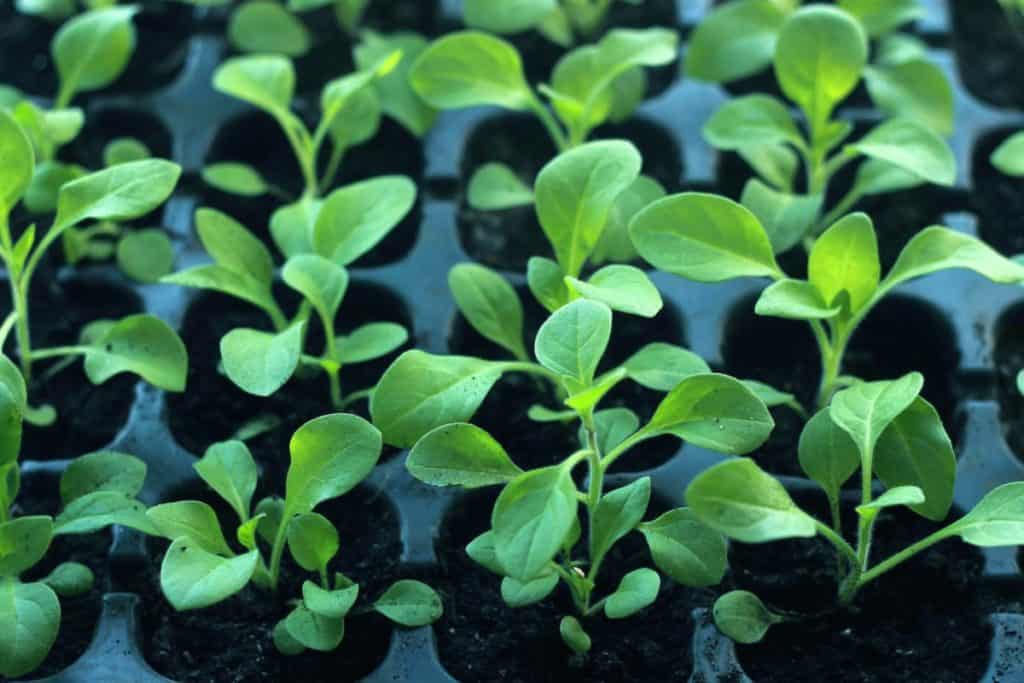
Decide whether you are going to plant in pots (my Amazon affiliate link), multi-celled flats (my Amazon affiliate link) , or in the “bulk planting” method that I will discuss later. Let’s assume that you are starting your seed in 2″ pots. Fill the pots almost full of potting mix. Pack it down, so all the gaps are filled in. Place your seed (or seeds) in the pot and cover with no more than 1/4″ of soil.
Look at the seed. If it is a very small seed, just sift a little of the potting mix over the seed. It does not need to be planted deep. That’s the mistake most folks make when just starting out at this. They bury the seeds too deep. Try to mimic nature. Most seeds in nature will just drift in the wind till they land on the soil.
At that point, they are not immediately covered with an inch or two of soil. No, they are usually covered with a fine layer of dirt or dust that has blown in, or even with some leaves that have just fallen. So, keep that in mind. You don’t have to plant your seeds deep. In fact, you should not plant them deep. They may not germinate.
A good rule of thumb is to cover the seed about twice as deep as the seed is in diameter. So, a very small seed will have only a dusting of the potting mix on top of them, but a kernel of corn might have ¼” of soil on top of it. Let the size of the seed determine what depth it is planted.
You can use your potting mix to cover the seed or even Pearlite or Vermiculite. I have found that Perlite (my Amazon affiliate link) and Vermiculite (my Amazon affiliate link) work even better than the potting mix as the “covering” because it is less restrictive on the little seedling trying to push its way out of a dirt nap.
Any deeper and they really have a tough time trying to push out from under the extra soil, and at some point, they might just give up.
Some folks plant their seeds way too deep. But whether you are starting seeds indoors, or are planting seeds directly in the garden (direct sow) the seeds should only be planted in this manner.
Also, if I have plenty of seed on hand, I will usually plant 2 seeds in each pot, just in case one of them does not germinate. If both seeds do germinate, then you can decide if you want to keep both plants or if you want to “thin” (that means eradicate) one of the new seedlings.
Sometimes I will keep both by separating them and re-potting the “twin”, depending on the variety. Sometimes I will keep both plants (the twins) and put them both in the garden. Melons, for example, do pretty well if there is more than one in a pot.
Temperature
As I said earlier, I found that heat (or more accurately “warmth”) is essential in the germination process. And, each type of seed has its own desired temperature that is optimum to its “waking up”. Most seeds need between 75 and 80 degrees to germinate.
I have found that a Seedling Heat Mat (my Amazon affiliate link) dramatically increased my success in starting seed. The seed starting heat mats come in several sizes, accommodating the hobbyist or the hard-core professional that has a lot of seeds to start. I’ve used my heat mat for years and it has dramatically increased the success of my germination rate. The mats have thermostats that keep the temperature constant. That plays a big part in success.
If you have a warm place in your home, like the top of a refrigerator or near a wood stove, you might get by without a heat mat. Many gardeners do, but I just want the extra assurance of a heat mat, and I’m glad I have one.
Let There Be Light
Once the seeds have germinated, you will need a way to give them plenty of light. A window is not enough. I can’t stress that too strongly. Your seedlings will not become viable without a strong source of light. A lot of light. If not, they will get “leggy”. That’s a fancy, gardeners’ term meaning they will grow very long, very fast. But the stem of the seedling is very thin and not developed enough to support the plant.
I guess they are stretching out, trying too hard to find some light. Most of these will not survive in the garden. The ones that do won’t make a very good plant. At least that’s been my experience. And no, placing them by a window is not good enough. Your seedlings will need a lot of light. So, when about 75% of the seeds are germinated, it’s time to get them under a light source.
You will either have to put them under a grow light (my Amazon affiliate link) or in a greenhouse. If, when you reach this point, you still aren’t getting a lot of natural sunlight in your part of the world, I would suggest investing in a simple grow light. Make sure the one you choose has the full spectrum of light and uses efficient LEDs.
You could bring them out each morning (assuming the temperature allows) and let them stay in the sun all day, bringing them in at dusk. This is a little labor-intensive, and you have to remember to bring them in each night so they won’t freeze to death. And, your area may not be getting enough sun at that time of year anyway.
So, for me, the grow light setup is just too easy and doesn’t require much thinking. I leave the lights on the plants for about 16 hours a day. Don’t leave it on 24 hours each day. They only need around 16 hours. I have the light on an inexpensive timer (my Amazon affiliate link), taking all the guesswork out of it. The light needs to be real close to the seedlings. Have the light a couple of inches from the small seedlings.
You’ll have to raise the light as the seedlings start to grow and stretch towards it. The only thing you need to do is make sure they are watered, and raise the grow lights as the plant grows up and reaches for it. Having a timer makes it very “hands-off” and simple.
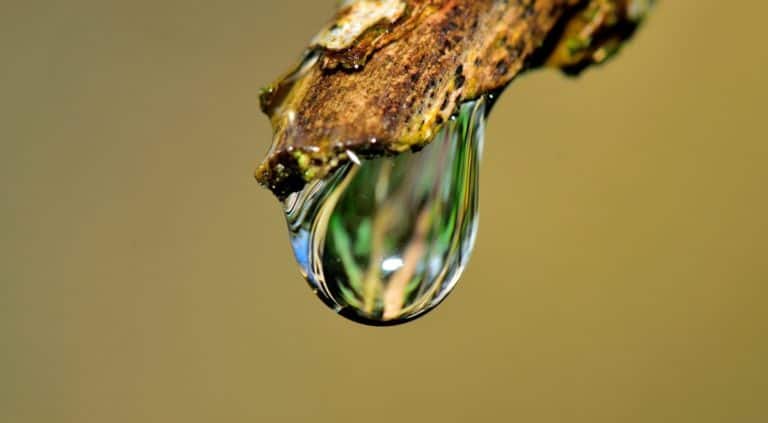
Moisture
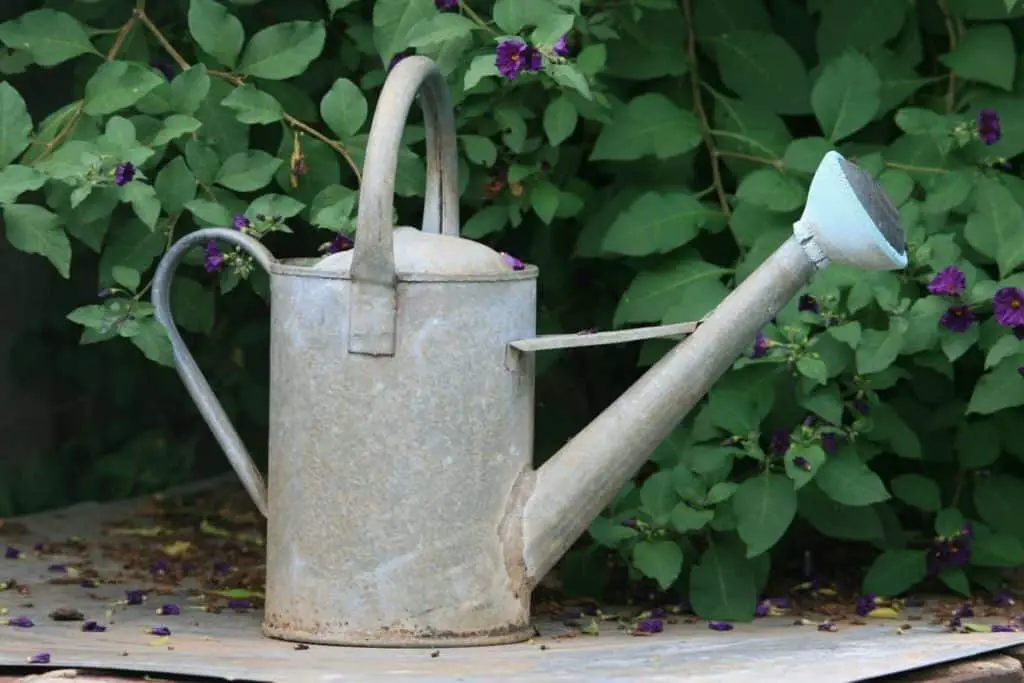
The seeds need to be kept moist. In fact, as soon as you lightly cover the seeds with potting mix or perlite, they need to be watered well. Don’t use a hose or watering can that would really splash the water on them hard. With seeds that small, there is a strong chance you’ll washing them away, or rinsing their covering off. Not good. I like to use a misting bottle.
I just spritz the water over the seed trays with water from a misting bottle. The first “misting” should water the mix in the seed tray completely through. You might have to spray a little more often since you’ll be applying only small amounts of water within the mist, but you won’t be disturbing the seed in the tray. It is busy trying to germinate and doesn’t need the extra stress of too much water.
If you have a watering can or hose sprayer that is very, very gentle, you might get away with using that. But it needs to be a gentle amount of water over the seed trays. Don’t wash away the seeds before they can start the germination process.
Many times, I water from “underneath”. In other words, the tray I’m planting in has holes in the bottom and I have that tray (the seed tray) sitting in a larger tray or tub that has a little water in it.
The holes in the seed tray allow water to weep up into the potting mix and keep the potting material moist. I’m careful that I don’t just leave the seed tray sitting in water all the time. The bottom tray (water tray) doesn’t need to be full, just have a ½ inch of water in it. That should be plenty to ‘wick’ the water up into the seed tray.
Some seed starting kits have a water tray in their kit to help keep the seedlings moist. Burpee (one of the most famous names in seeds) has a kit like this. This kit includes everything except the potting mix. It even has a heat mat! There’s a clear lid for it, turning it into a mini-greenhouse. Check it out HERE (my Amazon affiliate link).
Planting Using The Bulk Method
That’s the essentials, Heat, Light, and Moisture, but earlier I mentioned another way to plant. This is the method I use if I am planting a lot of one variety of seed. It is a little more labor-intensive (later on) but is one of the easiest ways to get a LOT of seedlings going in a small space. This is what I call the “Bulk Planting Method”.
It probably has a more correct term, but that’s what I call it. Using this method, you will put your potting soil in a container similar to this (my Amazon affiliate link). I like to use a tray about 2-3″ deep, scatter the seed very thickly (like poppy seeds on a roll) on top of the potting soil, then cover with a dusting of potting mix, perlite, or vermiculite. The seedlings will come up in a thick mass.
Yes, the roots will be intertangled with each other, but they are easily separated later. Then later (which won’t take long) when they are 4-5″ tall and have their first true leaves, you will separate the plants into individual pots, or cups, or six-packs to grow without any competition.
I’ve used the Bulk Method with thousands of seedlings. I kept some of them, and I sold hundreds of them. I made a video on this that shows you how I did it. It can be seen HERE
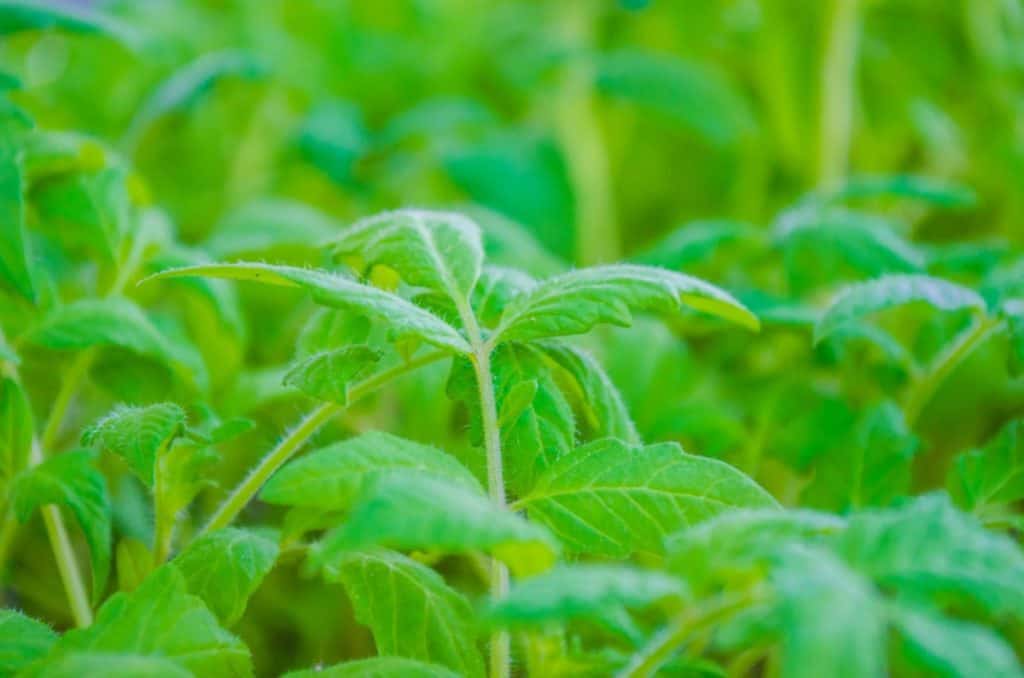
The Bulk Method is truly a huge time-saver if you are planting a lot of seeds. Most vegetables’ roots “separate” very easily with no damage to the small plant. I’ve separated hundreds of tomatoes and pepper plants that were planted in the bulk method, and re-potted them in individual pots or cells and have lost very, very few due to my mishandling. They are very resilient and can handle a little light manipulation from the gardener.
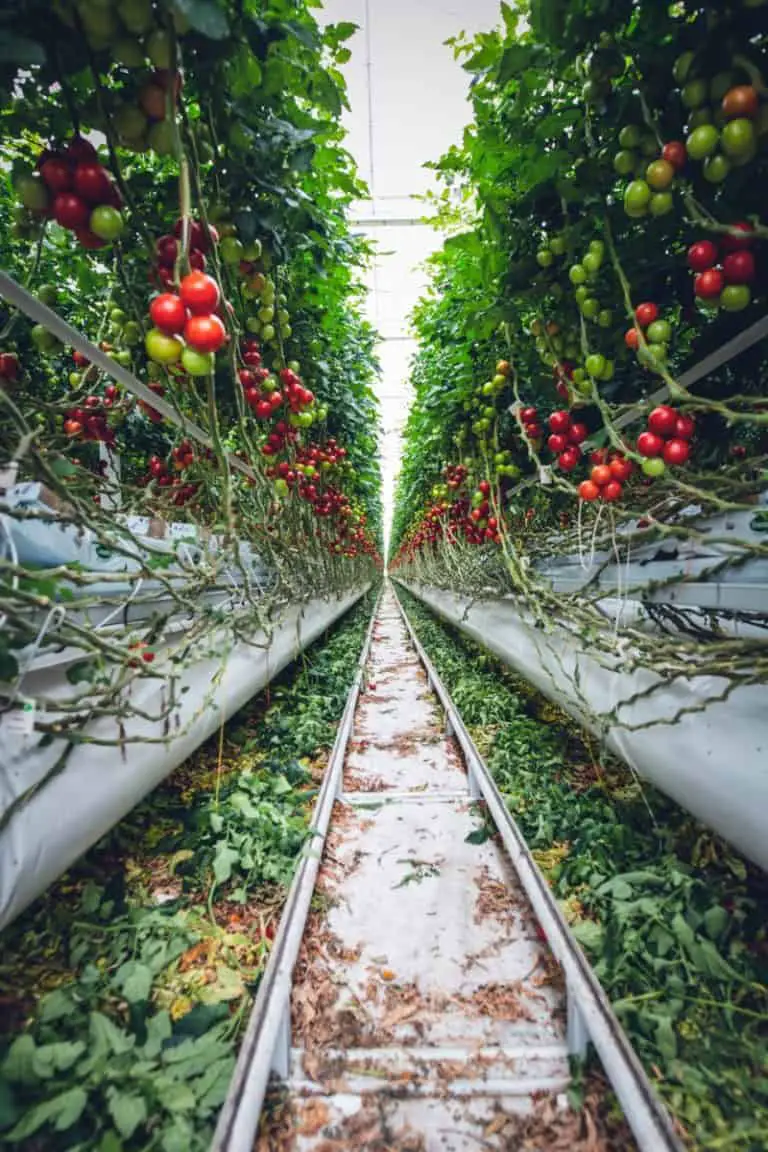
At this stage, they should be under the grow lights or in a greenhouse. If you don’t have a greenhouse, I designed an attractive, inexpensive, portable greenhouse that just about anyone can build. Thousand of people have my Greenhouse plans, and Greenhouses using my design have been built in many countries all over the world. I have a page on this website dedicated to my Greenhouse. You can find it HERE.
After they are several inches tall (or several weeks old, depending on the variety of plant) they are ready to be planted in the garden… IF you are past your last expected frost. Frost will kill many if not most garden vegetables.
Also, you may need to “harden them off” first. That means taking them outside to play for a few hours each day, to get accustomed to the temperature change before they actually are planted in the ground. After the danger of frost in your area (check local listings) stick them in the ground. You should water them right after planting to seal the soil around the roots. That will eliminate any air gaps that could dry out the roots.
So, get started!
Gentlemen (and ladies) … Start Your Seeds!
As always, I know your time is valuable, so I thank you for spending some of it here.
I have around 800 videos on my YouTube channel dealing with every aspect of Homesteading, Gardening and Emergency Preparedness related topics. You can find them HERE

2 Comments
Comments are closed.