How To Make Redneck Wine
People have been making wine for thousands of years. Long before all the fancy winemaking equipment was invented. And you can make your own “vintage” with just a little know-how, and even less equipment.
I’ve made many gallons of wine from several different kinds of fruit. For each batch, there were only four ingredients: Fruit, Sugar, Water, and Yeast. I told you that anyone could do it. So, let’s get started!
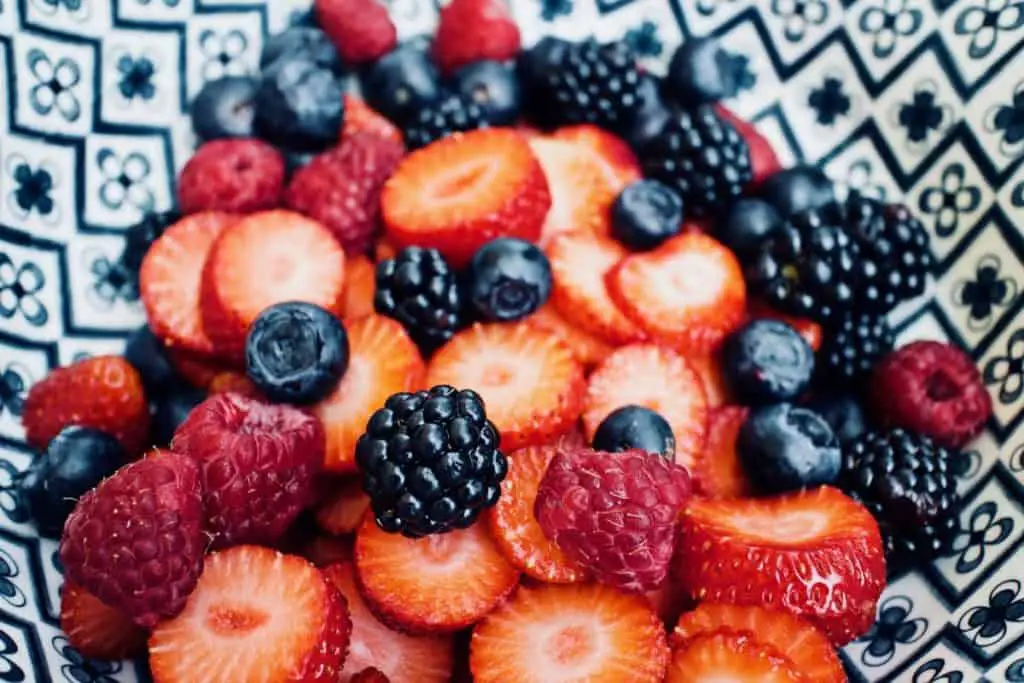
First of all, notice that I said “fruit”. I didn’t say “grapes”. That’s because wine can be made from just about anything. If your neighbor’s peach trees are loaded down, you can make peach wine. Hopefully, he will agree to trade you some of his peaches for a quart of your wine, and you don’t have to resort to a black ops “procurement” mission. But not just peaches. Wine can be made from blackberries, strawberries, apples, or whatever. I think you get the picture. Most any fruit will make wine. So, if the local Piggly Wiggly has a sale on strawberries, pick up a bunch of them. Heck, you don’t even have to have fruit. Ever heard of “dandelion wine”? You may have thought it was just an expression, but it’s really made from dandelions. Imagine that.
Real winemakers (called vintners) have a lot of fancy and expensive equipment for their winemaking. You don’t have to use all that stuff. Now, I’m not saying your wine will make the A-List at the next Napa Valley wine tasting, but I think you’ll definitely impress and amaze your friends with it.

Must-Have Equipment
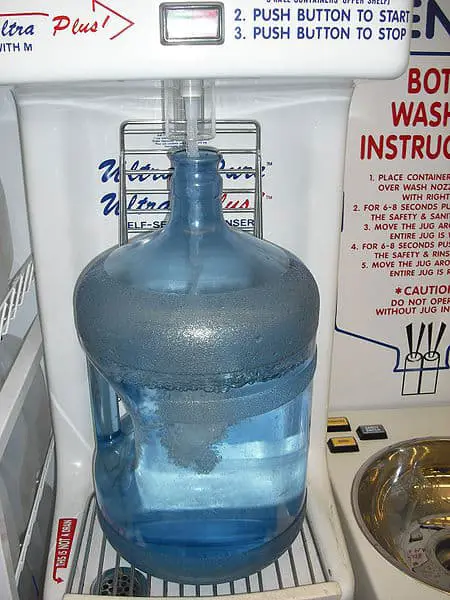
The receptacle that holds the fermenting wine is called a “carboy”. That’s another fancy term for a “jug”. And that’s all you’ll need… a jug. I’ve used the blue plastic water jugs that you can get at a big box store. These are the same jugs used in one of those water coolers at work. They should work just fine.
You’ll need what’s called an “airlock”. This is a device, filled with water, that allows the CO2 that is formed in the fermentation process to escape while keeping air out. These are not expensive, and you can find them here
(my Amazon affiliate link).
The next thing you will need is a cork (my Amazon affiliate link) for your carboy (jug). This is a little tricky, only because many of these blue jugs have different sized holes at the top. The cork linked to above is a “universal” cork, so it might work just fine. But, you can measure the top of the jug and get a cork that will fit that hole, sealing it up completely, when the airlock is installed.
Here is a Cork / Airlock (my Amazon affiliate link) package that is “universal”.
The airlock is inserted into the cork, and the cork is inserted into the top of the jug. That’s your setup. A jug with a cork and airlock on top. How simple is that?
You’ll also need a hose (my Amazon affiliate link) to siphon the wine out of after fermentation. There are fancy ones that you can buy (and actually, they are pretty cheap), but you can go out and buy a 6-foot length of hose from Home Depot for a couple of dollars. I like to use a clear hose so I can see the wine moving inside it.
Let me tell you about a setup that I have, but I’m not saying you have to use this. If you have access to a water jug like I talked about earlier and can find a cork to fit it, that will work just fine. But, there is a product that I like called a Big Mouth Bubbler. It has a very wide opening at the top. Big enough to put your arm in so you can scrub it out and clean it very well (which will come in handy in some of the next steps).
The small opening on a regular water jug is so small that you really need a long-handled carboy brush (my Amazon affiliate link) to get it as clean as possible. The Big Mouth Bubbler can save you a lot of time and is so much more convenient. And, because you can get your arm in the wide mouth, it can give you the assurance that you’re getting your equipment clean. It has to be clean, (sanitized) or the wine can turn to vinegar. We will talk about that later, too.
Take a look at the Big Mouth Bubbler (my Amazon affiliate link) (it comes in 5 and 6-gallon sizes, and will need a cork too) and see if it’s something you would want to invest in. It’s only about thirty bucks, which is not expensive at all, considering it should last for many, many years. I have one, so I do recommend it. But again, it is not absolutely necessary.
Let’s get all the ingredients together before starting the process.
Water
As I said before, there are only four ingredients. First, let’s talk about water. I would suggest that you use something besides tap water. Remember, the goal is to begin the process of fermentation. Much of our water supply has chlorine or something similar to that which is designed to kill the bacteria in the water. That can also stunt your fermentation process. That’s not good.
So, I would use bottled distilled water, spring water or something like that. It is usually very inexpensive and can be bought in gallon jugs at the Dollar Store or Walmart or just about anywhere for about a dollar a gallon. I’ve used tap water and it did all right, but some didn’t ferment like I thought they should have. The tap water may have been the problem.
How much water you will need depends on how big your jug is, and how big of a batch of wine you’re wanting to make. Most of the jugs will be labeled with the capacity of that jug (usually 5 or 6-gallons). However, you will not be filling it up all the way. There has to be some headroom for the fruit to expand during the fermentation process. We’ll talk about that later.
So, for a 6-gallon carboy, I would get 5 gallons of water. You probably won’t need that much, but water is cheap so buy a little extra.
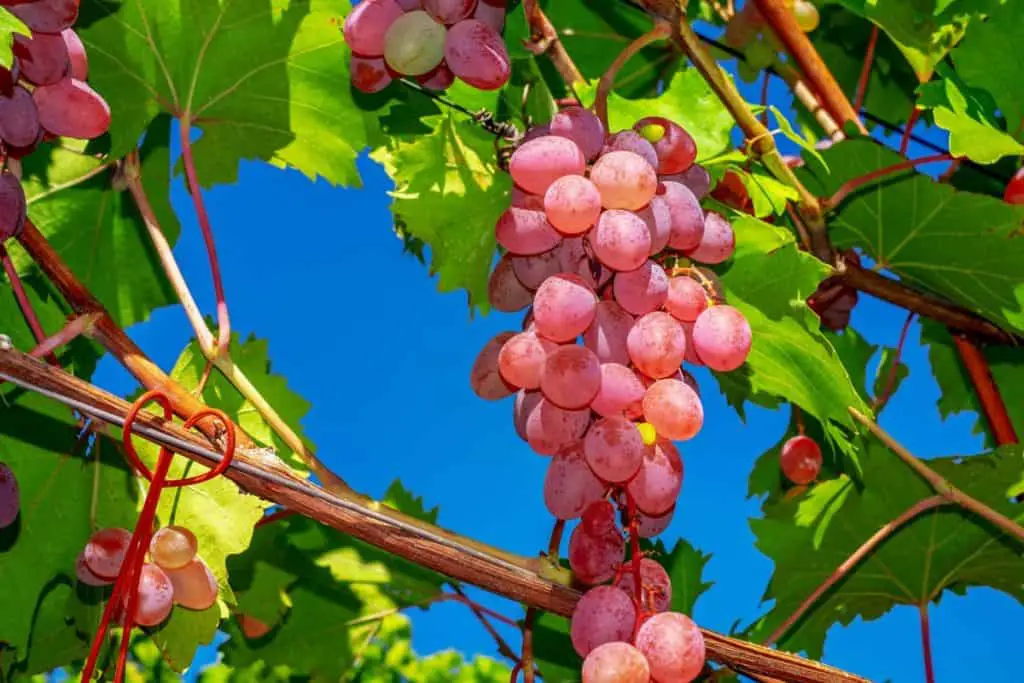
Fruit
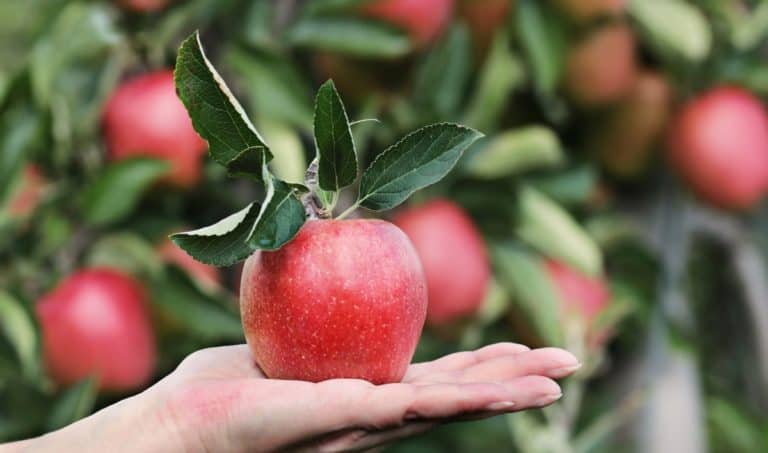
The type of fruit you use will depend on what type of wine you want to make. I have made grape wine, pear wine, strawberry wine, peach wine, persimmon wine, apple wine, and muscadine wine. All of these fruits work pretty darn well, so pick one.
Unless you have a strong preference, or if you have a tree full of fruit, you might just want to see what is on sale. Yes, you can buy fruit from a supermarket. It will work just fine. I’ve even used frozen fruit and found that it works just as well as fresh.
So, pick your fruit. But you’re going to need quite a bit. You going to need around 10 lbs. If you are using the basic blue water jug that I showed above, you will need to cut the fruit up into small pieces so it will go into the small hole at the top of the jug.
For me, that was another reason to use the Big Mouth Bubbler. With the BMB, you don’t have to cut the pieces of fruit up so small. And, when it’s clean up time, the cut-up fruit will pour out much easier from the Big Mouth without getting stuck, like it will from a small opening like that blue jug has.
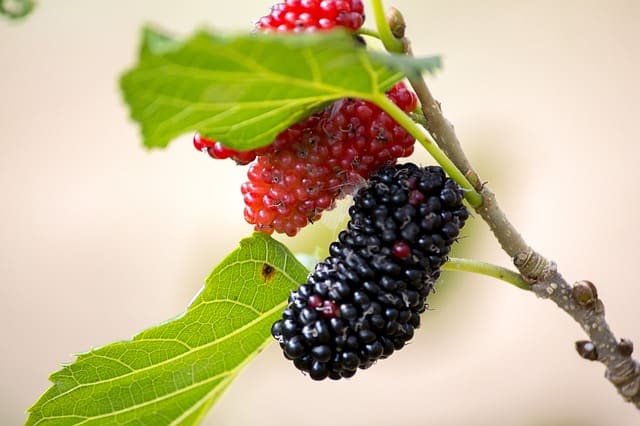
You will need to cut the fruit up though. If you’re using something like strawberries, you will need to cut the green leaves off the top of it. then cut the strawberry in half or fourths and that should be enough. Blackberries can go in whole, but you might want to squash them in your hands before adding them to your carboy.
Obviously, apples and pears and such will need to be cut up into smaller pieces. I have used fruit that was peeled and fruit that was not peeled and I really couldn’t tell a difference, but you may want to peel yours ahead of time. The peeling on fruit has its own yeast in it, and the natural yeast might counteract with the “purchased” yeast that you will use in a later step. Any fruit you use needs to be washed.
Sugar
You are going to need quite a bit of sugar. you can figure on about half as much sugar by weight as you have fruit. And other words, if you have 10 lb of fruit you will need about 5 lb of sugar. You could use a little more sugar, but I would not use any less than that. Just plain old white granulated sugar is fine.
A lot of people will make wine using honey. This is called “Mead”. I’ve never made Mead, but I am somewhat intrigued by it and will probably do that someday.
Yeast
There are many specialized yeasts for winemaking. You can use one of them and probably get a better result, but it’s also possible to use just simple bread yeast for this.
There are so many kinds of yeasts, and some will raise the alcohol level more than others will. But again, there are so many differences that I really can’t recommend any particular one of them. Here’s a link to several different kinds of wine yeasts (my Amazon affiliate link), if you choose to use real wine yeast, over a “bread” yeast.
I’m sure many “vintner” type folks will read this and be totally aghast at “bread yeast” being mentioned in winemaking, but we’re talking about Redneck Wine, so why not?
Now we are ready for the process.
Clean Your Stuff
Everything… and I do mean everything has to be clean. Real winemakers call it “sanitization”. They use special powders and such to sanitize. You can too. Here (my Amazon affiliate link) are some sanitizers, but you can also use a bleach solution. A few tablespoons in a gallon of water should clean and sanitize the equipment.
Every piece of equipment needs to be sanitized (rinse the equipment after sanitizing with bleach). If the wine touches it, it needs to be sanitized. Not following this might produce unwanted bacteria in the mix and turn it into vinegar. So clean it up. If it turns to vinegar you can’t bring it back into “wineness”… It’s done.
Adding The Ingredients
Place the cut-up fruit into the jug, or Big Mouth Bubbler. If you wanted to crush the fruit up a little before you put it in, that might help the process. Add water. The more water you add, the weaker the wine will be. The tendency will be to use more water because you want to make a lot of wine, but I wouldn’t go too crazy with the water.
You absolutely need some “headroom” in the carboy (the jug, or BMBubbler). The fruit will expand during the fermentation process, and if you filled the jug up with water, you may have a real mess when it starts to rise up into the neck of the jug.
I would fill the carboy no higher than 10 inches from the top of the Jug or BMBubbler. Leave at least 10 inches of “headroom”. More would be better. I’m not sure how much water that will be, but probably 4 gallons, more or less.
Add the sugar, and stir it up till the sugar is no longer visible. You don’t want it falling to the bottom of the jug. It won’t do you much good there. It needs to be mixed in with the fruit.
Cover the carboy with a clean cloth and let it sit overnight.
The next day, you will add your yeast. Again, what type you use is entirely up to you. Dissolve the yeast in a bowl of warm water. Most yeast packages will have the optimum temperature printed on them, which will tell you what temperature works best for that particular yeast.
When the yeast begins to bubble in the warm water, that means it’s working. Pour it into the carboy, and mix it in with the water, fruit, and sugar by stirring it or swirling the carboy around to get it mixed up.
Then it’s time to put the airlock on. You’ll need to add some water to the airlock (it should have a “fill-to” line on it). When you put the airlock on it, after a while you should see some bubbles in the airlock. That lets you know it’s working (fermenting). As the yeast ferments the sugar and fruit, it puts off CO2. That’s the bubbles coming through the airlock. Try to keep it in a cool dark place.
After a week or two, the bubbles should cease. It should be through fermenting at that point, so it’s time to get the wine out of the carboy. You’ll be separating the “wine” from the spent fruit and yeast. This is called “racking”. Transferring the fermented juice to another container. This container can be another “jug” or a 5-gallon bucket. But, it has to be sanitized, so make sure it’s clean.
The transfer is made with the hose you bought (sanitized like everything else). Keep the hose off the bottom while you are siphoning (racking). That way, you won’t transfer as much of the sediment and residue that is on the bottom of the jug. That’s the spent yeast and some of the fruit particulates.
You could transfer to a second empty (sanitized) bucket, then pour out the remaining spent fruit solids from the carboy. Then, after you cleaned the fruit out of the original carboy and sanitized it, you could pour the juice (from the bucket) back into the original carboy/BMBubbler. If you had 2 carboys (jugs) or BMBubblers, you could just go from one to the other.
Then put the airlock back on it, and wait some more. You still don’t want air coming into the jug. Once you remove the solids (fruit residue) from the carboy you can throw them away (although my wife made a great pear cobbler out of spent pears).
From here on out you want to avoid shaking or stirring the carboy. You want all the little particles of fruit and yeast (that you didn’t get in the first siphoning process) to settle to the bottom. You want all the “cloudy stuff” that’s in the juice to sink to the bottom. That’s how the wine will get clearer.
Leave it for another 2 weeks or so. Then you’ll repeat the racking (siphoning) process. This time, be even more careful not to allow the tube to go down into the sediment on the bottom. You want to siphon up all the wine, but not the residue that has settled on the bottom.
From here on you can start sampling the wine to see what you think of it. Don’t leave the cork off for very long. You still don’t want a lot of oxygen getting to it.
If it’s still a little cloudy, you can rack it several times to get it as clear as you want it to be.
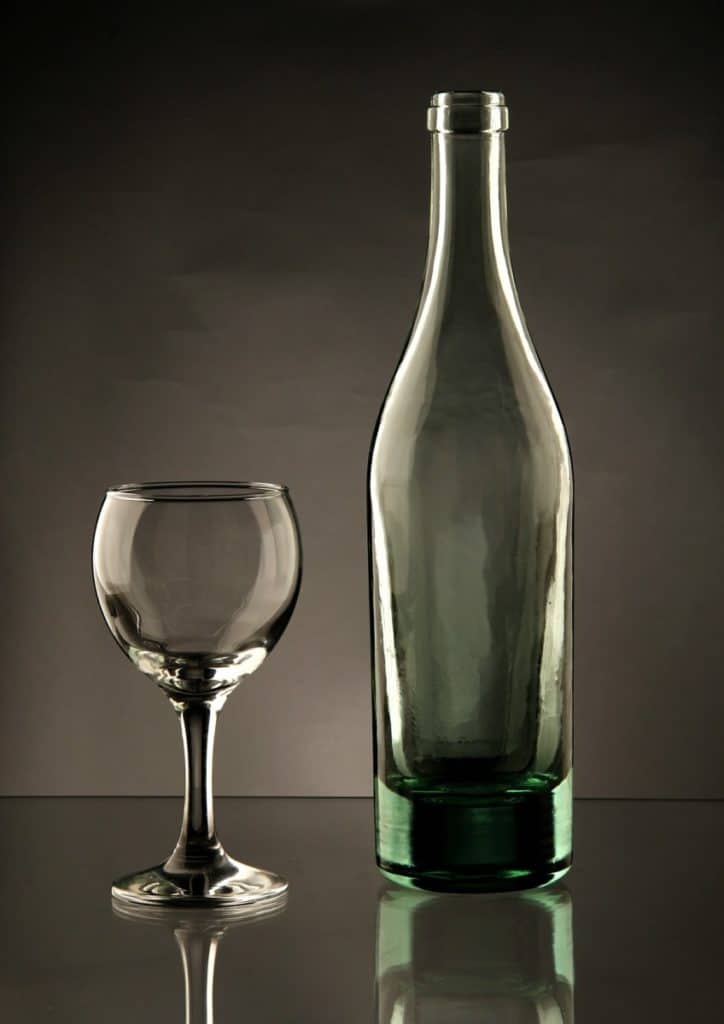
Bottling
You can put the wine into (sanitized) used wine bottles if you have a corker (my Amazon affiliate link),but there are easier “redneck” ways to do this. I have put a lot of wine into mason jars with tight lids. You can also put the wine into used 2-liter bottles. These bottles have a strong seal and do a pretty good job of storing it. The real “vintners” are going crazy right now at the mention of putting wine into 2-liter bottles, but they’ll get over it.
Aging
When it’s time to bottle… it’s wine. However, it will get better with age, so you might want to store it (or at least some of it) for a while. How long? Well, just experiment with it. I’ve stored some for a year or two, but even a few months will make a difference in the taste. But again, you’re not going to win any awards with this wine, you’re just proving to yourself (and your friends) that you can make it. Store it in a cool dark place.
I hope this helps you better understand some of the rudimentary winemaking processes. And again, I know real vintners (winemakers) are pulling their hair out right now and screaming at their computer screens, “this is not the right way to make wine!”. But, I would argue that wine was made thousands of years before all the fancy equipment was invented, and can be made now without it… Redneck Style!
I have a “Redneck Winemaking Playlist” on my YouTube Channel that has over a million views, showing even simpler ways to do this. You can find them HERE.
My YouTube Channel has around 800 videos dealing with Homesteading, Livestock, Gardening, and Emergency Preparedness. You can find it HERE.
Here’s An Even EASIER WAY To Make Wine: WATCH!
There is little to go wrong with making homemade wine, but if something does go wrong, I ain’t at fault. Do this at your own risk.