In a word… YES! I’ve had incredible results using the Back To Eden method. My soil has been transformed from hard red clay to a dark, brown heavenly goodness, and I did it by using the methods outlined in the Back to Eden Film. When the film first came out, I implemented the “deep mulch” techniques Paul Gautschi espoused almost immediately.
I was fascinated by the transformation of Paul’s property and was determined to do the same on my own property. And I did. My garden soil has completely been transformed by the Back To Eden, “deep-mulch” method of gardening. As Paul would say “it’s the covering”.
To give you some perspective, my east Texas property is nothing but a lump of clay. Literally. If you scratch the topsoil over an inch or two, you’ll see red clay. But that’s not all. Not only is there red clay, but there are also streaks of yellow clay, iron ore rocks and gravel. It is not exactly the kind of soil that is begging to be planted in. The promise of a thriving garden was not something I could visualize in its present state.
The Journey to Eden
Years before I had heard of the Back To Eden method, I had implemented some of the same practices in a small garden on my property. In the fall, when bags of leaves were plentiful, on curbs all over this country, I would take my old truck through the streets of the nearest city after I got off work.
I would specifically look at the trees on the property to see what kind of leaves would be in the large black garbage bags. I would stay away from houses that had a lot of pine trees on their property. I thought the pine needles wouldn’t break down well and would also change the PH of my soil.
Since then, I’ve found that isn’t necessarily the case. I wouldn’t put just pine needles on a garden, but a small percentage of them really won’t hurt. I would find out what day was “curb pickup”, and would try to make sure I picked up as many bags of the “gold” as I could before the local sanitary workers got to them.
You should have seen me. I was in a 20-year-old faded red truck with trash bags piled up in the back over the cab, tied down with a crisscross of ropes to make sure the bags made it all the way home. I’m sure I was a sight. Probably looked like the Jodes going to California (that’s from the “Grapes Of Wrath” for you younger folks).
But it worked. The small garden I put the bagged leaves on turned out to be one of the best gardens I have ever had. It grew some of the best tomatoes I’ve ever seen in anybody’s garden. The Vines were 12 to 14 ft tall and the tomatoes were a pound to a pound and a half each. Huge, and tasty.
That Garden was lined with crossties and was probably only a few hundred square feet, but the leaves I added to the soil quickly turned into beautiful compost. It’s been 35 years ago or so, but I don’t remember turning them into the soil. I think I just put them on top of the soil and let them compost down. Just like the Back To Eden method.
I also experimented with “Ruth Stout’s No Work Garden”. Her book was written 40 years ago and is out of print, but you can still find a copy HERE (my Amazon affiliate link). It is a great book. Her method (which was also genius) recommended spreading hay or straw (or leaves) in a deep mulch bed over the top of the soil. I have a sneaking feeling Paul read this book and adapted it to his method.
To plant the “no work garden” the straw would be pulled back, and the seed would be placed on top of the soil and covered up with the straw. This is exactly how the Back to Eden method works. Most Back to Edeners use wood chips, not straw. However, wood chips are not always easy to find. I have had countless people on my YouTube channel ask where I got my wood chips, and could I recommend sources for them to find some?
As it turned out, my neighbor had a tree service. At one point he was bringing me several loads of chips per month. Sometimes multiple loads per week. And I absolutely covered my garden spots with them. Since the soil was so bad, I knew it would take a lot of composted material to turn that hardpan clay into viable soil. So, on two separate garden plots, I piled the wood chips up.
In some places, the chips were about two feet deep. In previous years I had put rotted hay on one of those plots (following Ruth Stout’s book) so it was already getting somewhat of a start in the “deep mulch” method. I was amazed at how quickly the wood chips begin to break down. Almost immediately I saw evidence the wood chips were rotting or composting. I think the wood chips broke down even faster than the hay did.
So, that’s how I started out in what is now called The Back to Eden gardening method. For me, it started well over 30 years ago. Long before I watched The Back to Eden film. If you haven’t seen the film, it’s very well done and informative. You can find it HERE (my Amazon affiliate link).
My Soil Transformation
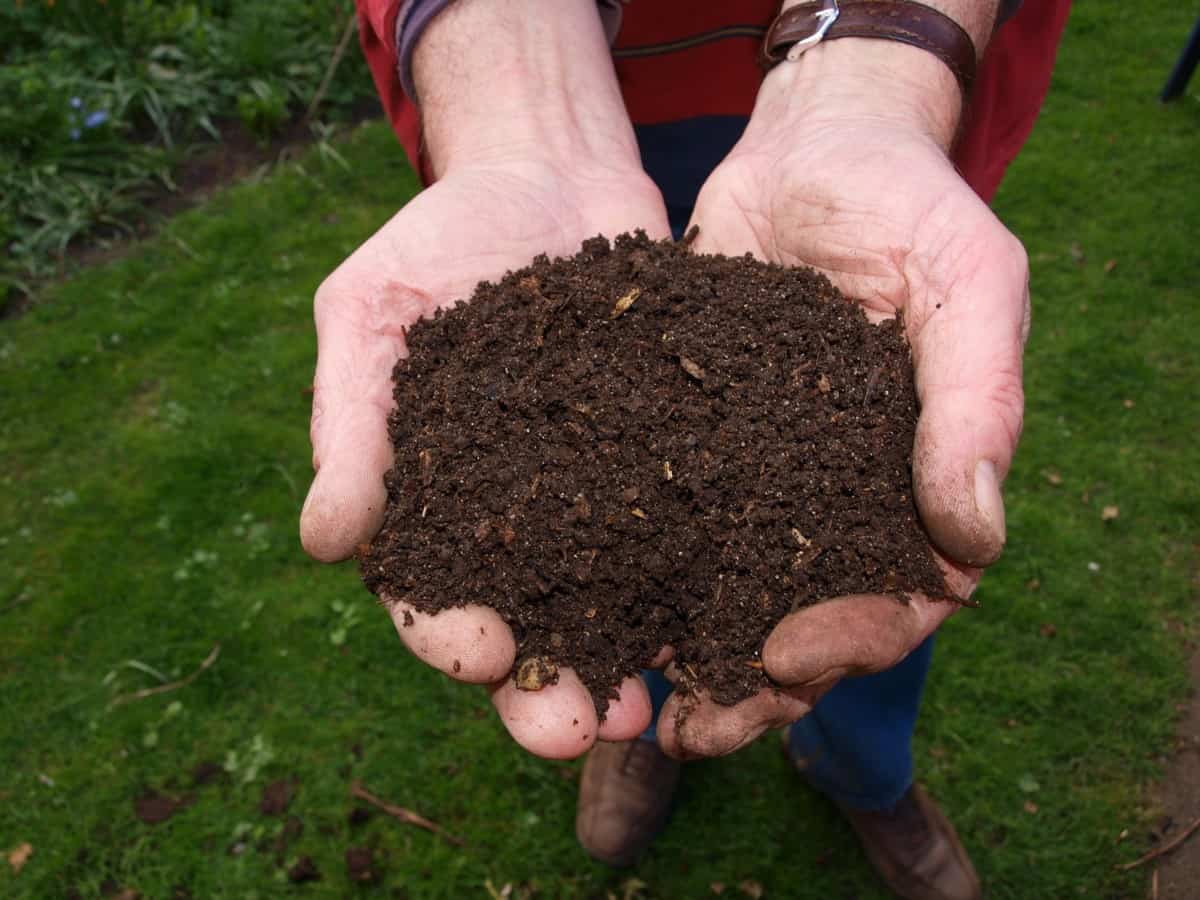
It’s really hard to describe the soil that I have now in my garden plots. It’s just beautiful. In the back to Eden method, the wood chips are not turned into the soil, they are placed on top of the soil and just lay there rotting down into compost. So technically, my land (underneath) is still hard red clay. It is just covered with a black goodness of composted wood chips, hay, and leaves.
This compost layer is now about 6 inches deep, and all the wood chips are completely composted. If you’ll remember, I said I had piled the wood chips up in some places a couple of feet deep. So, when the chips rotted down they were transformed into a compost layer about 6 inches deep. Black Gold.
After having stared at my unforgiving rock hard soil for decades, it is just an amazing sight to look at. Also, to go in and work the soil is a pleasure now. Before (in the red clay) it was nearly impossible to use a cultivator or even a hoe because the ground was so hard. When it would rain, the ground becomes a mucky mess. But when the rain stops, it is as hard as concrete.
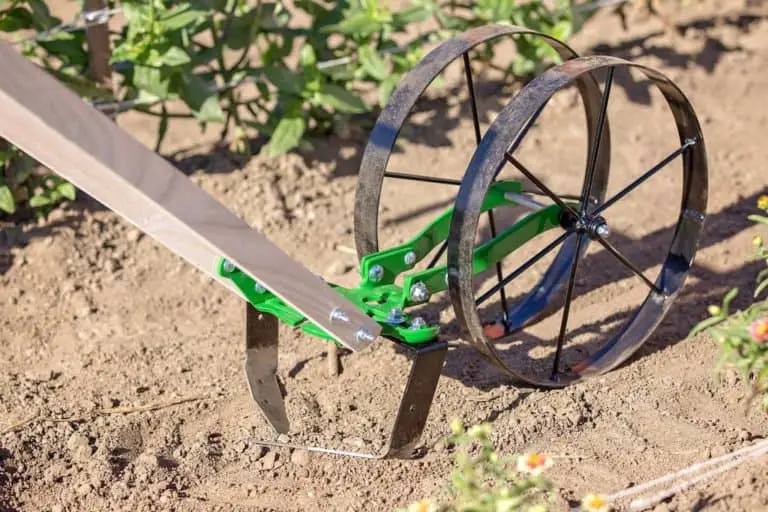
The red clay would grow a decent garden, but it was not something I could really keep weeded because of the consistency of the soil. Now I can push a wheel hoe through my garden with very, very little effort.
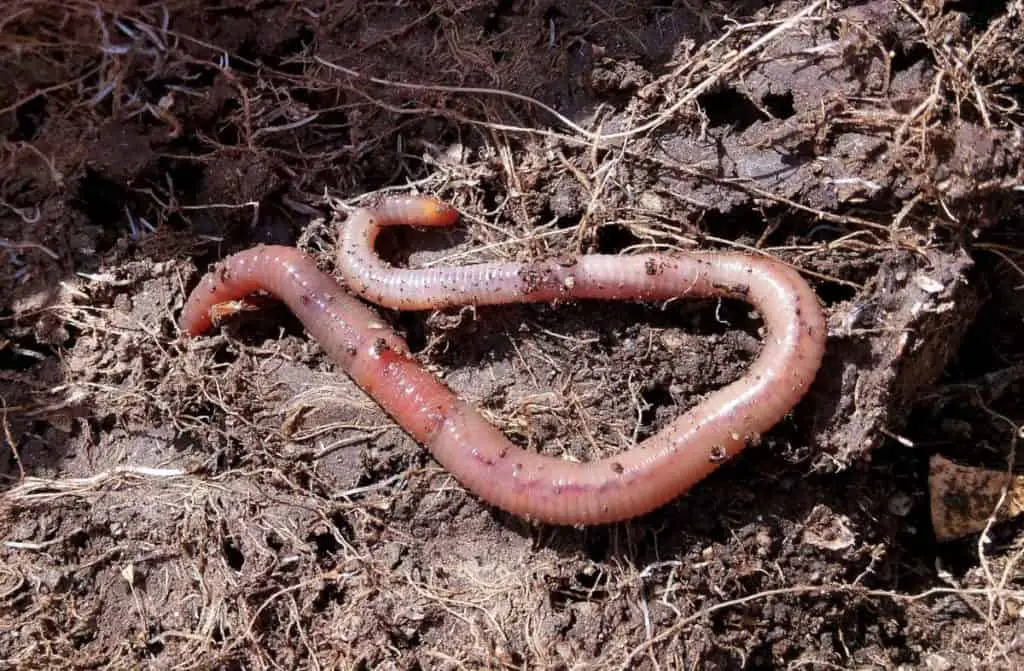
The soil (really it’s just compost) is so light and pliable. And boy does it bring in the earthworms. They love this new haven I have shared with them. Now they will get busy helping transform the soil too… even the hard soil underneath the mulch.
Transforming YOUR Soil
It may be that you to find it difficult to find a source of wood chips. I would suggest that you contact any local tree service near you and see if they need a place to dump their wood chips. Most of them probably have to pay a Recycling Yard to go and dump their chips and would be happy if they had a place to dump them for free!
Also, when you see a tree service trimming trees along Highway, or in a residential area, or anywhere near, stop and try to talk to the “leadman” and see if he would come and dump the wood chips on your property. I have done that on several occasions.
My source of wood chips (my neighbor) has almost dried up for me. Occasionally he will bring me a load, but most of the time he takes his wood chips to a friend of his further down the road from me. So I am going with Plan B. Actually, for me, it’s plan A. It’s where I started.
So, if you can’t find a source of wood chips, I suggest you do what I am going to start doing. I’m going to once again start in the fall driving through town and picking up bags of leaves. There are a few things you’ll want to remember if you go “Leaf Scavenging”, so let me give you a few tips.
Finding An Appropriate Covering
Before I say anything about good leaf pickup practices let me remind you that in the beginning I also used hay. If you’re in a rural area and have access to folks that feed hay to their animals like horses, cows sheep or goats, and they probably have hay that they have used for bedding material or just spoiled hay. That’s the hay that an animal will have stepped on or laid in, and then not want to eat.
It’s really of no use to the farmer (unless he’s reading this post) so it might be something they would love for you to take off their hands. If it has been laying in the barn it might have some manure in it. If so, you hit the Daily Double. Cha-Ching!
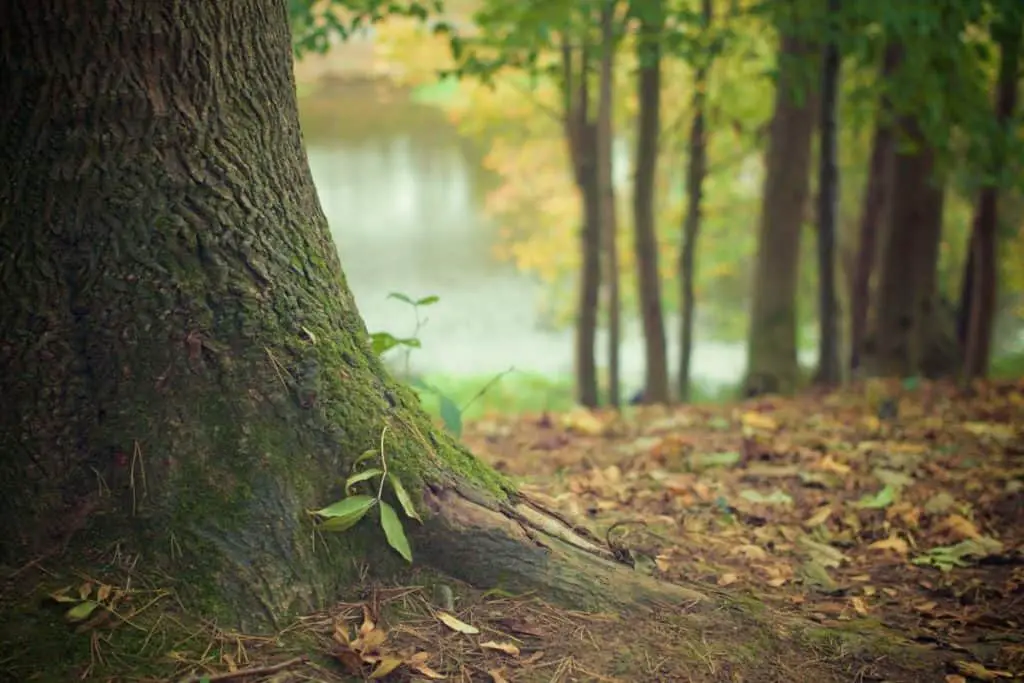
Okay, back to choosing the right leaf bags to pick up. As you’re driving around, I would look for a well-manicured lawn if possible. Those folks would probably be meticulous about keeping sticks and other things out of their lawns, so the bags of leaves would probably be trash free. At least, that’s what I found.
Also, just look at the bag. If you see something poking out of it, you can be sure there will be sticks in the bag also. The sticks will compost after a while so it’s not a huge deal, but I’m sure you would rather your garden not have any sticks in it. So, if at all possible, pick your bags of leaves carefully. But don’t be too choosy. You need the leaves.
Obviously, most of the leaf pickup will be in the fall when leaves are actually falling off the trees. Which is very convenient because that is the absolute best time to put leaves on your garden spot. I always like to put my covering down in the fall if it all possible. That gives it all winter long to start breaking down and becoming that rich composted material that I need.
I’m not saying it will be completely broken down by Spring planting time, but the composting process will certainly be started. I’m sure that like me you get a lot more rain (or snow) in the winter months. The moisture helps the leaves to break down so it’s a perfect time to put them on your garden.
I’m sure that is why leaves fall off the trees in the fall. They provide a winter covering which helps with erosion and begin the mulching down processed that feeds the trees. So, whether it’s in your yard, or out in a forest, a covering of leaves is how nature fertilizes itself. You are just mimicking nature’s ways.
That’s why I think leaves may be a better covering than wood chips. Maybe it’s because my wood chip source dried up, but also because I’ve seen it work. One advantage wood chips have over hay or leaves is that leaves could blow off.
But wood chips will definitely wash away. If you’re on a slope and a strong rain comes with a lot of runoff, you could find your chips downslope in a hurry. Remember, wood floats.
After The Garden Is Covered
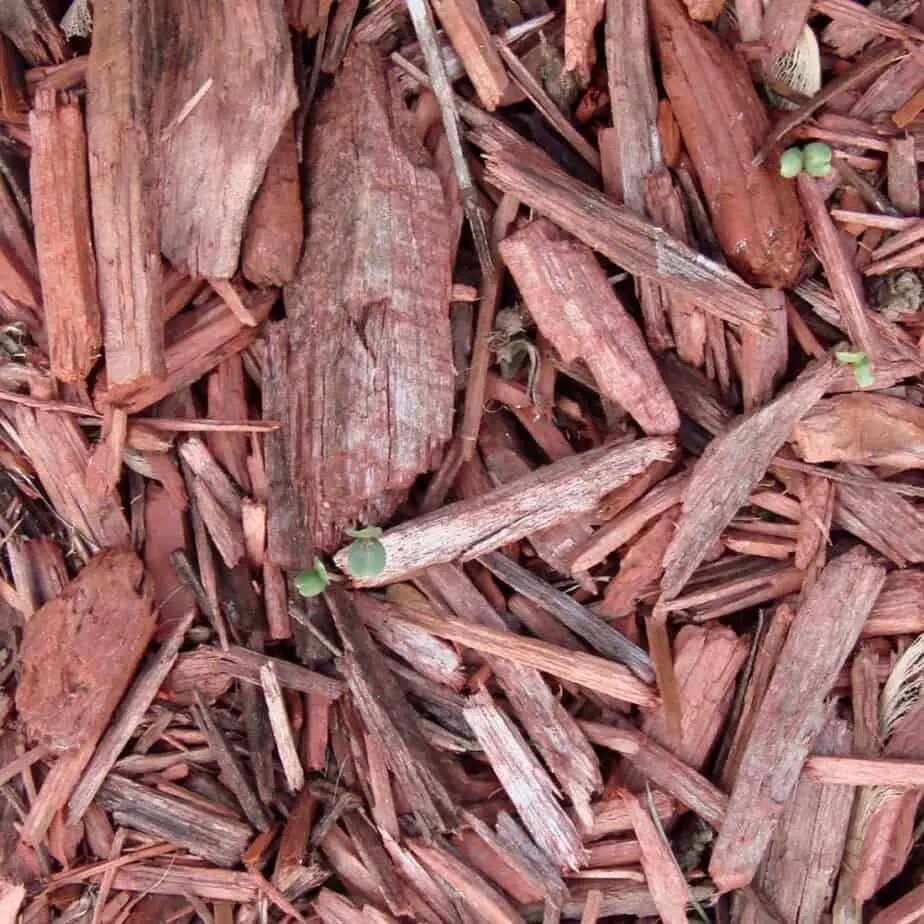
I started to just leave this paragraph blank because there’s really not a lot to do at this point. You want the material to start to compost down, and it requires very little help from you. On occasion, I will go back and turn the wood chips (or leaves) over so that the material on the top gets buried a little. I think this will make it compost quicker.
Understand, I didn’t say I turned the material into the soil. That’s not a good idea, especially with wood chips. When wood decomposes it uses nitrogen up in the soil. If the wood chips are incorporated into the soil it can deplete any nitrogen you have. So, I just turn them over and mix them up a little.
Wood chips that stay on top of the soil won’t use up nitrogen. Wood chips that are mixed into the soil will. You can also spray water on them from time to time. That helps the composting process too, but if it’s winter, they’re probably staying moist enough.
If you wanted to hurry the composting, you could spray some liquid fertilizer on them. That might be just the thing to give them a kick in the pants.
So just let them sit. It won’t be long before you have a rotting mound of organic material. “A rotting mound of organic material” doesn’t sound too pretty, but when you see it, you’ll know that soon you too will have black gold.
Final Thoughts
If you can find a source for wood chips then you are blessed. If not, try leaves. Every community has street after street with bagged leaves sitting on the curb just waiting for you to give them a reprieve from the landfill.
Not only are you helping yourself to an amazing resource, but you are also sparing the landfill the extra burden of dealing with those bags of leaves. How Green is that? No matter what material you choose to use, the difference will be incredible, truly incredible. And you’ll enjoy the benefits from your foray into Eden for many years to come.
I know your time is valuable. I sincerely thank you for spending some of it with me.
I have a YouTube Channel that has around 800 videos about my experiences with Back To Eden Gardening and just about every other aspect of Homesteading, Gardening, Raising Livestock and Emergency Preparedness. You can find my Channel HERE

